# vue-admin-php
**Repository Path**: sealphp/vue-admin-php
## Basic Information
- **Project Name**: vue-admin-php
- **Description**: Vue-cli3.0 + Element UI + ThinkPHP5.1 + RBAC权限 + 响应式的后台管理系统 https://lmxdawn.github.io/vue-admin
- **Primary Language**: PHP
- **License**: Apache-2.0
- **Default Branch**: master
- **Homepage**: None
- **GVP Project**: No
## Statistics
- **Stars**: 1
- **Forks**: 0
- **Created**: 2019-11-05
- **Last Updated**: 2024-06-10
## Categories & Tags
**Categories**: Uncategorized
**Tags**: None
## README
# 前言
**项目前端地址:** https://github.com/lmxdawn/vue-admin-html
**项目后端地址:** https://github.com/lmxdawn/vue-admin-php
# 欢迎 star
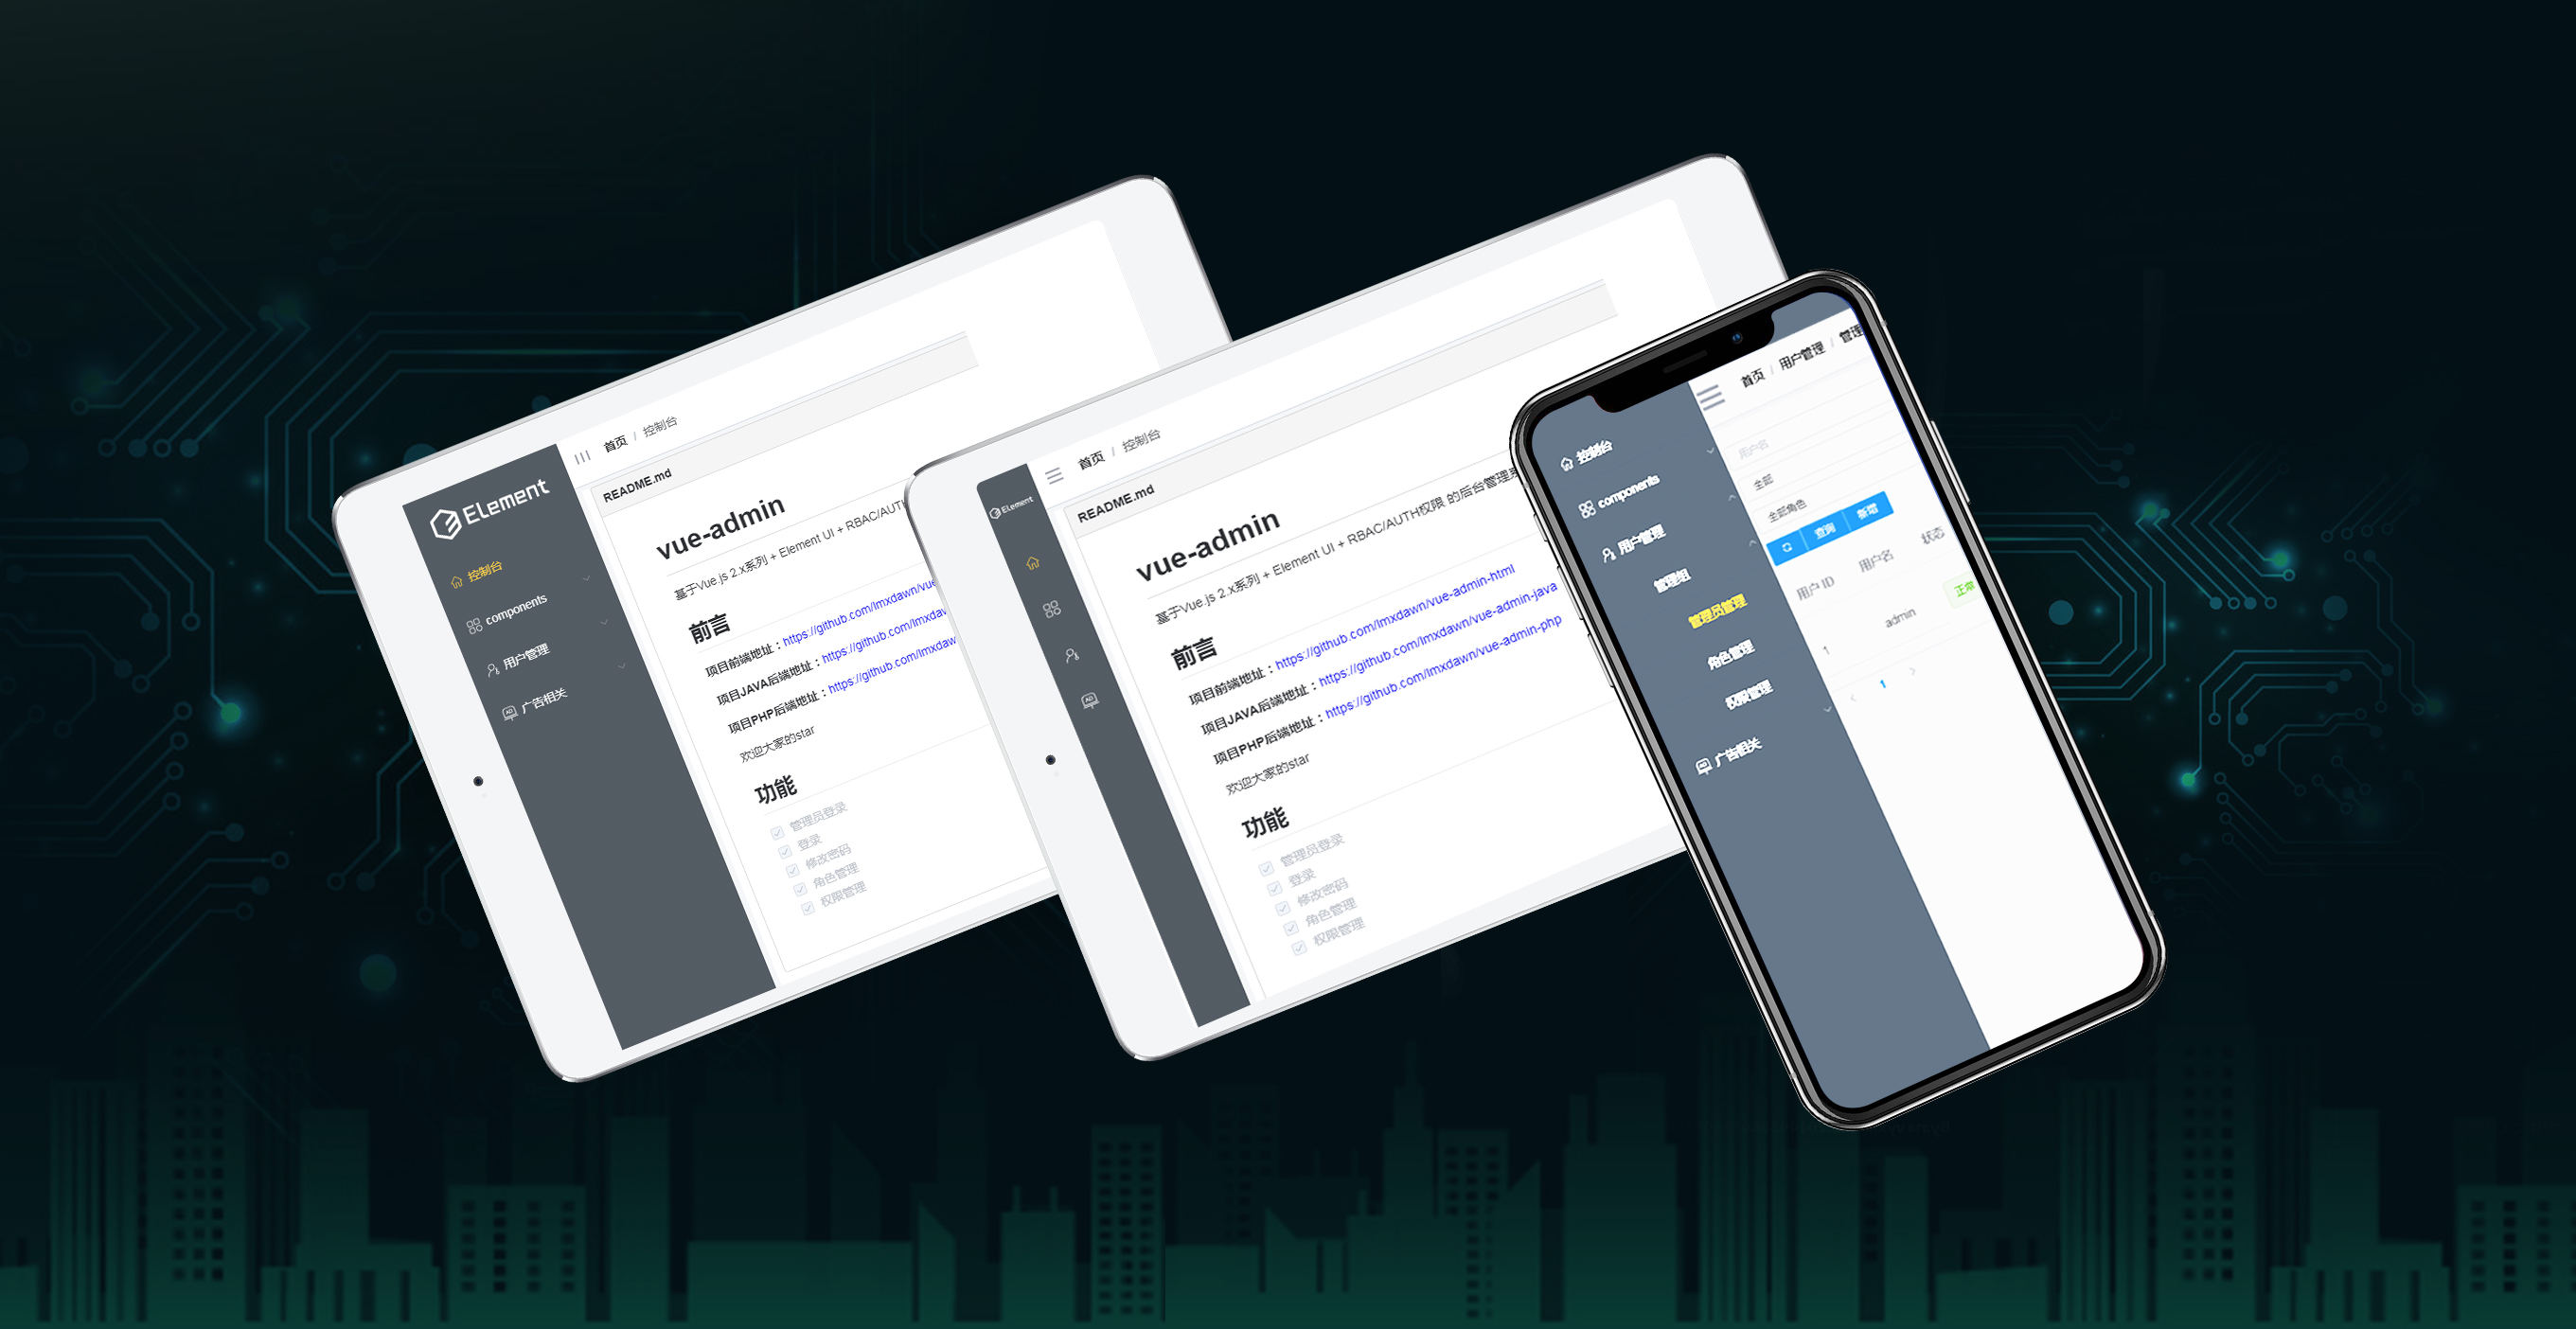
# 整体效果
# vue-admin-php
> Vue-cli3.0 + Element UI + ThinkPHP5.1 + RBAC权限 + 响应式的后台管理系统
# 一键操作包 点击下载
1. 集成环境搭建: windows 上面建议用 phpstudy ,其它环境自行百度
2. 把两个文件放到网站根目录
3. 把MySQL的root密码改为 root, 再新建数据库 vue-admin ,再把vue-admin.sql 文件导入到MySQL
4. 打开浏览器 输入 http://localhost/vue-admin-html/dist/index.html
## 功能 ##
- [x] 管理员登录
- [x] 登录
- [x] 修改密码
- [x] 角色管理
- [x] 权限管理
- [x] 401/404错误页面
- [x] 动态面包屑
- [x] 动态侧边栏
- [x] 广告管理
## 安装步骤 ##
git clone https://github.com/lmxdawn/vue-admin-php.git // 把模板下载到本地
cd vue-admin-php // 进入模板目录
composer install // 安装项目依赖,等待安装完成之后
## 一些注意点 ##
1. 用的是 tp5.1 版本,具体文档 点击查看
2. 安装好后请把 composer.json 里面的 "topthink/framework": "5.1.*" * 号 改成具体的某个版本