# EspLcd
**Repository Path**: sli_gitee/EspLcd
## Basic Information
- **Project Name**: EspLcd
- **Description**: esp32通过SPI驱动lcd显示屏,纯C开发,VSCode开发环境。
- **Primary Language**: C
- **License**: Apache-2.0
- **Default Branch**: master
- **Homepage**: None
- **GVP Project**: No
## Statistics
- **Stars**: 0
- **Forks**: 2
- **Created**: 2022-10-07
- **Last Updated**: 2022-10-07
## Categories & Tags
**Categories**: Uncategorized
**Tags**: None
## README
# EspLcd
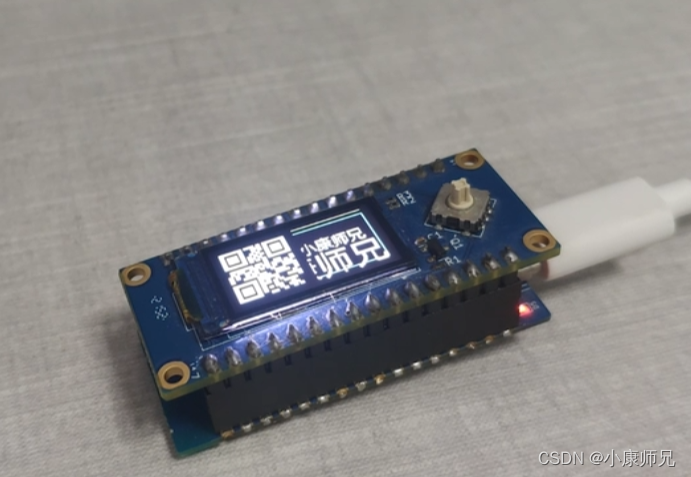
### 介绍
esp32通过SPI驱动lcd显示屏,纯C开发,VSCode开发环境。
### 软件架构
- LCD驱动库主要是从如下两个开源项目移植而来
- [梦程MI / LuatOS-ESP32](https://gitee.com/dreamcmi/LuatOS-ESP32)
- [合宙Luat / LuatOS](https://gitee.com/openLuat/LuatOS)
- 软件框架如下
- common是通用组件库,包含delay/gpio/spi等
- lcd是lcd驱动库
- qrcode是二维码生成库
- u8g2是图形库
```mermaid
graph TB
main --> components
components--> common
components --> lcd
components--> u8g2
components--> qrcode
common--> delay
common--> gpio
common--> spi
```
### 组件库API列表
| 函数 | 参数 | 返回 | 功能 |
|:--|:--|:--| :--|
| ```spi_init```| ```int bus_id```:SPI号
```int cs```:CS 片选脚
```int cpha```:CPHA 默认0,可选0/1
```int cpol```:CPOL 默认0,可选0/1
```int dataw```:数据宽度,默认8bit
```int bandrate```:波特率,默认2M=2000000
```int bit_dict```:大小端, 默认MSB, 可选LSB
```int master```:主从设置, 默认主1, 可选从机0. 通常只支持主机模式
```int mode```:工作模式, 全双工1, 半双工0, 默认全双工|```spi_device_t *spi_device```:spi参数|spi初始化|
|```lcd_setup```|```spi_device_t *spi_device```:spi参数
```char* tp```:lcd类型,有st7796/st7789/st7735/gc9a01等
```int pin_dc```:数据/命令选择引脚
```int pin_pwr```:背光引脚
```int pin_rst```:复位引脚
```int direction```:屏幕方向 0:0° 1:180° 2:270° 3:90°```int w```:水平分辨率
```int h```:竖直分辨率
```int xoffset```:x偏移
```int yoffset```:y偏移|```lcd_conf_t* conf```:lcd配置 |lcd初始化|
|```lcd_clear```| ```lcd_conf_t* conf```:lcd配置
```color_t color```:清屏颜色|int | lcd清屏|
|```lcd_inv_off```| ```lcd_conf_t* conf```:lcd配置|int | lcd关闭反色|
|```lcd_draw_point```| ```lcd_conf_t* conf```:lcd配置
```uint16_t x, uint16_t y```:点的位置
```color_t color```:绘图的颜色|int|lcd画一个点|
|```lcd_draw_fill```| ```lcd_conf_t* conf```:lcd配置
```uint16_t x1,uint16_t y1```:左上点
```uint16_t x2,uint16_t y2```:右下点
```color_t color```:绘图的颜色|int |lcd颜色填充|
|```lcd_draw_line```| ```lcd_conf_t* conf```:lcd配置
```uint16_t x1, uint16_t y1```:第一个点
```uint16_t x2, uint16_t y2```:第二个点
```color_t color```:绘图的颜色|int |lcd画一条线|
|```lcd_draw_rectangle```| ```lcd_conf_t* conf```:lcd配置
```uint16_t x1, uint16_t y1```:左上点
```uint16_t x2, uint16_t y2```:右下点
```color_t color```:绘图的颜色|int |lcd画一个框|
|```lcd_draw_circle```| ```lcd_conf_t* conf```:lcd配置
```uint16_t x0, uint16_t y0```:圆心
```uint8_t r```:半径
```color_t color```:绘图的颜色|int |lcd画一个圆|
|```lcd_set_font```| ```lcd_conf_t* conf```:lcd配置
```const uint8_t *ptr```:字体指针|int |lcd设置字体|
|```lcd_draw_str```| ```lcd_conf_t* conf```:lcd配置
```int x, int y```:左下起始点
```char* str```:字符串
```color_t color```:绘图的颜色|int |lcd显示字符串|
|```lcd_draw_qr_code```| ```lcd_conf_t* conf```:lcd配置
```int x, int y```:左下起始点
```char* str```:二维码内容
```int size```:二维码大小|int |lcd显示二维码|
|```lcd_draw_xbm```| ```lcd_conf_t* conf```:lcd配置
```int x, int y```:左下起始点
```int w```:位图宽
```int h```:位图高
```char* data```:位图数据,每一位代表一个像素
```int data_len```:位图数据长度|int |lcd绘制位图|
**备注**
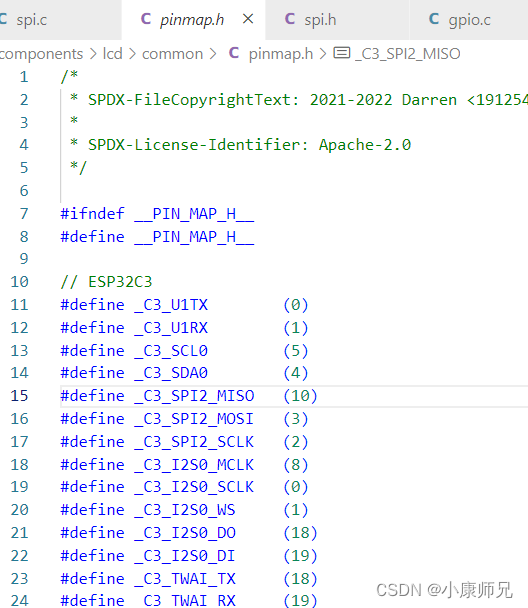
- SPI初始化时,选择SPI号,就选择了SPI的CLK和DATA引脚,ESP32-C3一般选择SPI2。
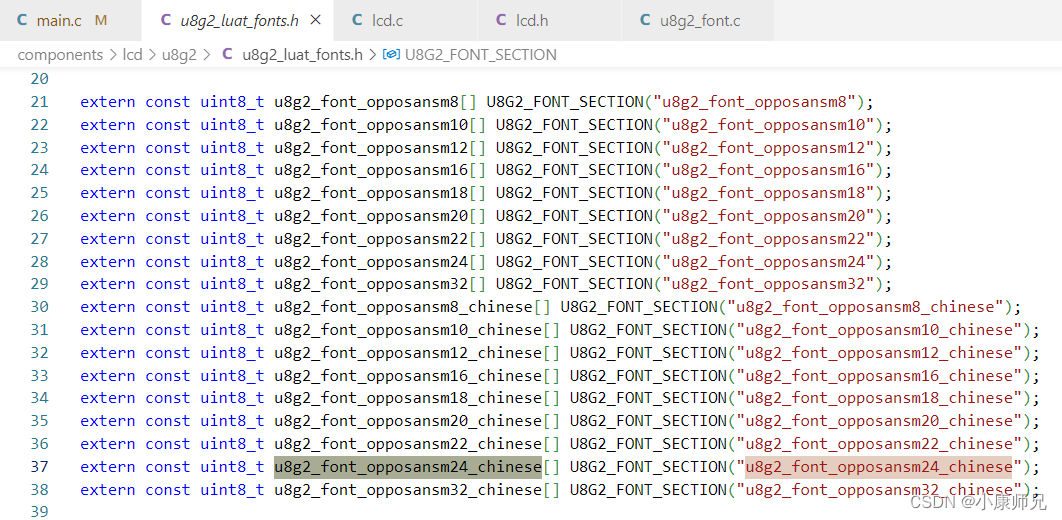
- LCD字体,在```components/lcd/u8g2/u8g2_luat_fonts.h```文件中。
### 博客
[ESP32-C3入门教程 基础篇⑥——SPI通信点亮LCD显示屏](https://blog.csdn.net/kangweijian/article/details/126408737)