# iosAppStabilityTest
**Repository Path**: www_rui/ios-app-stability-test
## Basic Information
- **Project Name**: iosAppStabilityTest
- **Description**: 用于iOS app稳定性测试的测试程序。
- **Primary Language**: Swift
- **License**: MIT
- **Default Branch**: master
- **Homepage**: None
- **GVP Project**: No
## Statistics
- **Stars**: 4
- **Forks**: 0
- **Created**: 2023-03-15
- **Last Updated**: 2024-01-11
## Categories & Tags
**Categories**: Uncategorized
**Tags**: None
## README
# iosAppStabilityTest
#### 介绍
用于iOS app稳定性测试的测试程序。
#### 使用说明
1. 克隆或下载项目到本地,进入“AppStability”目录,双击“AppStability.xcodeproj”使用Xcode打开项目,并等待项目加载完成。

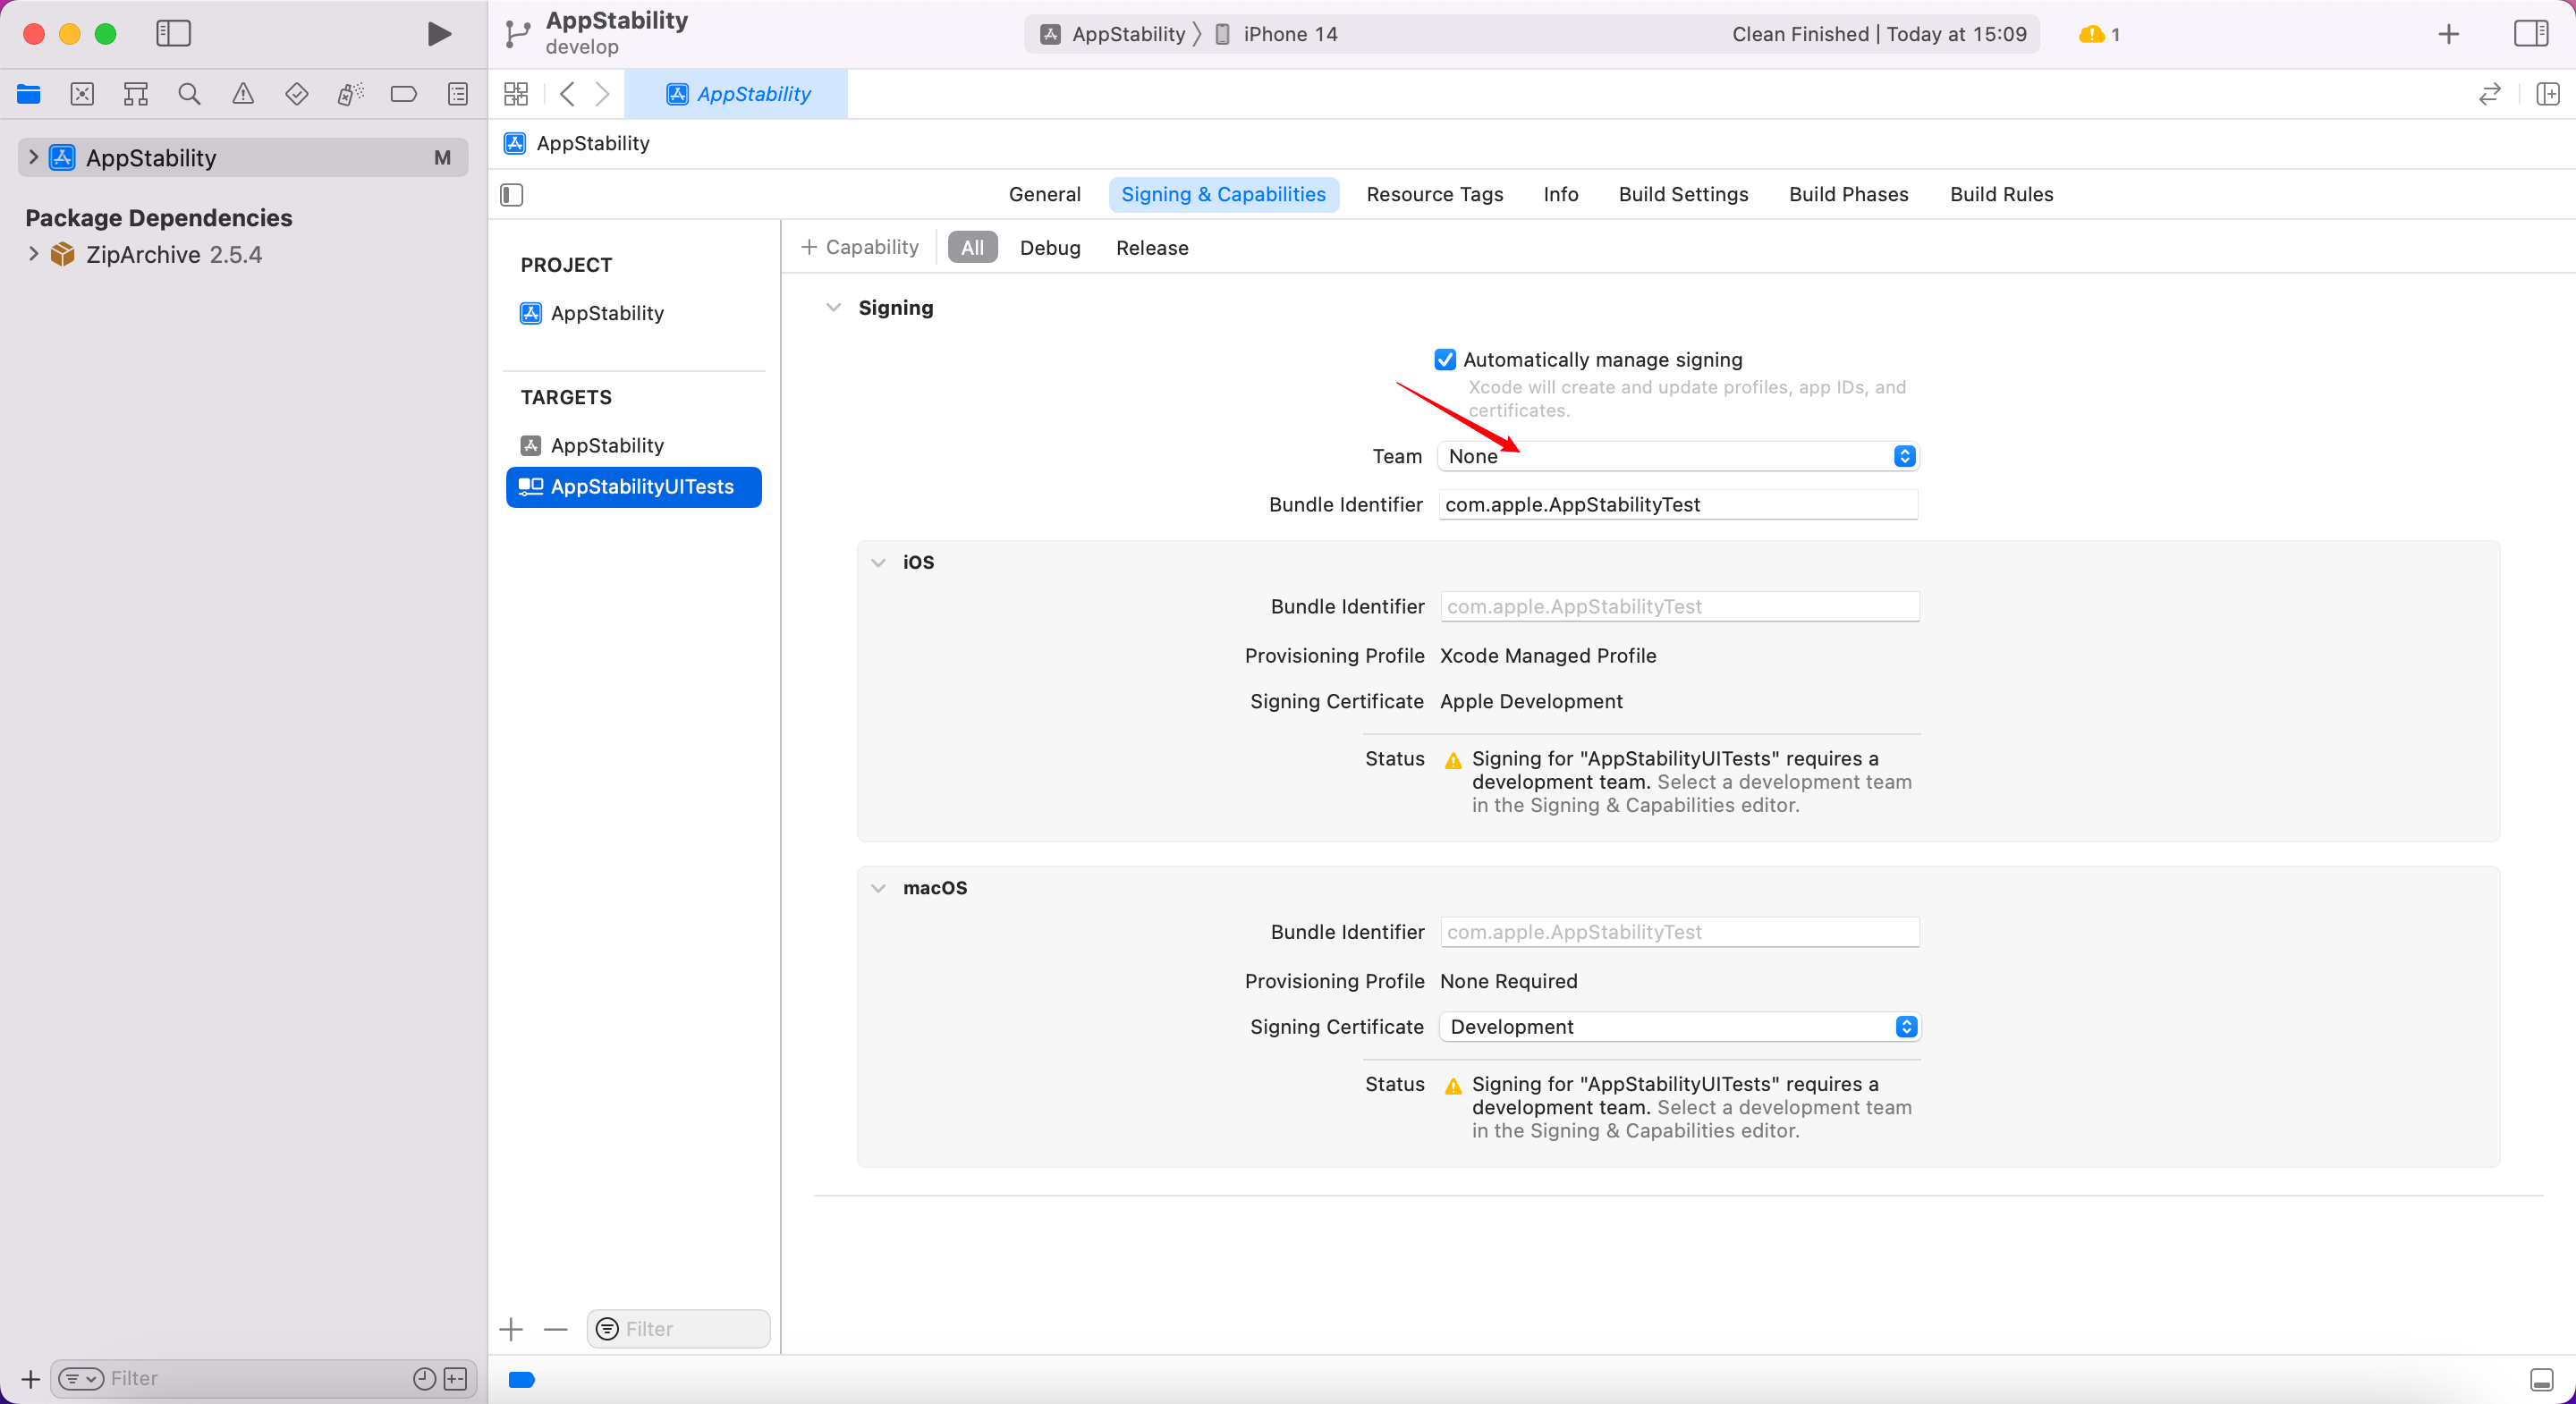
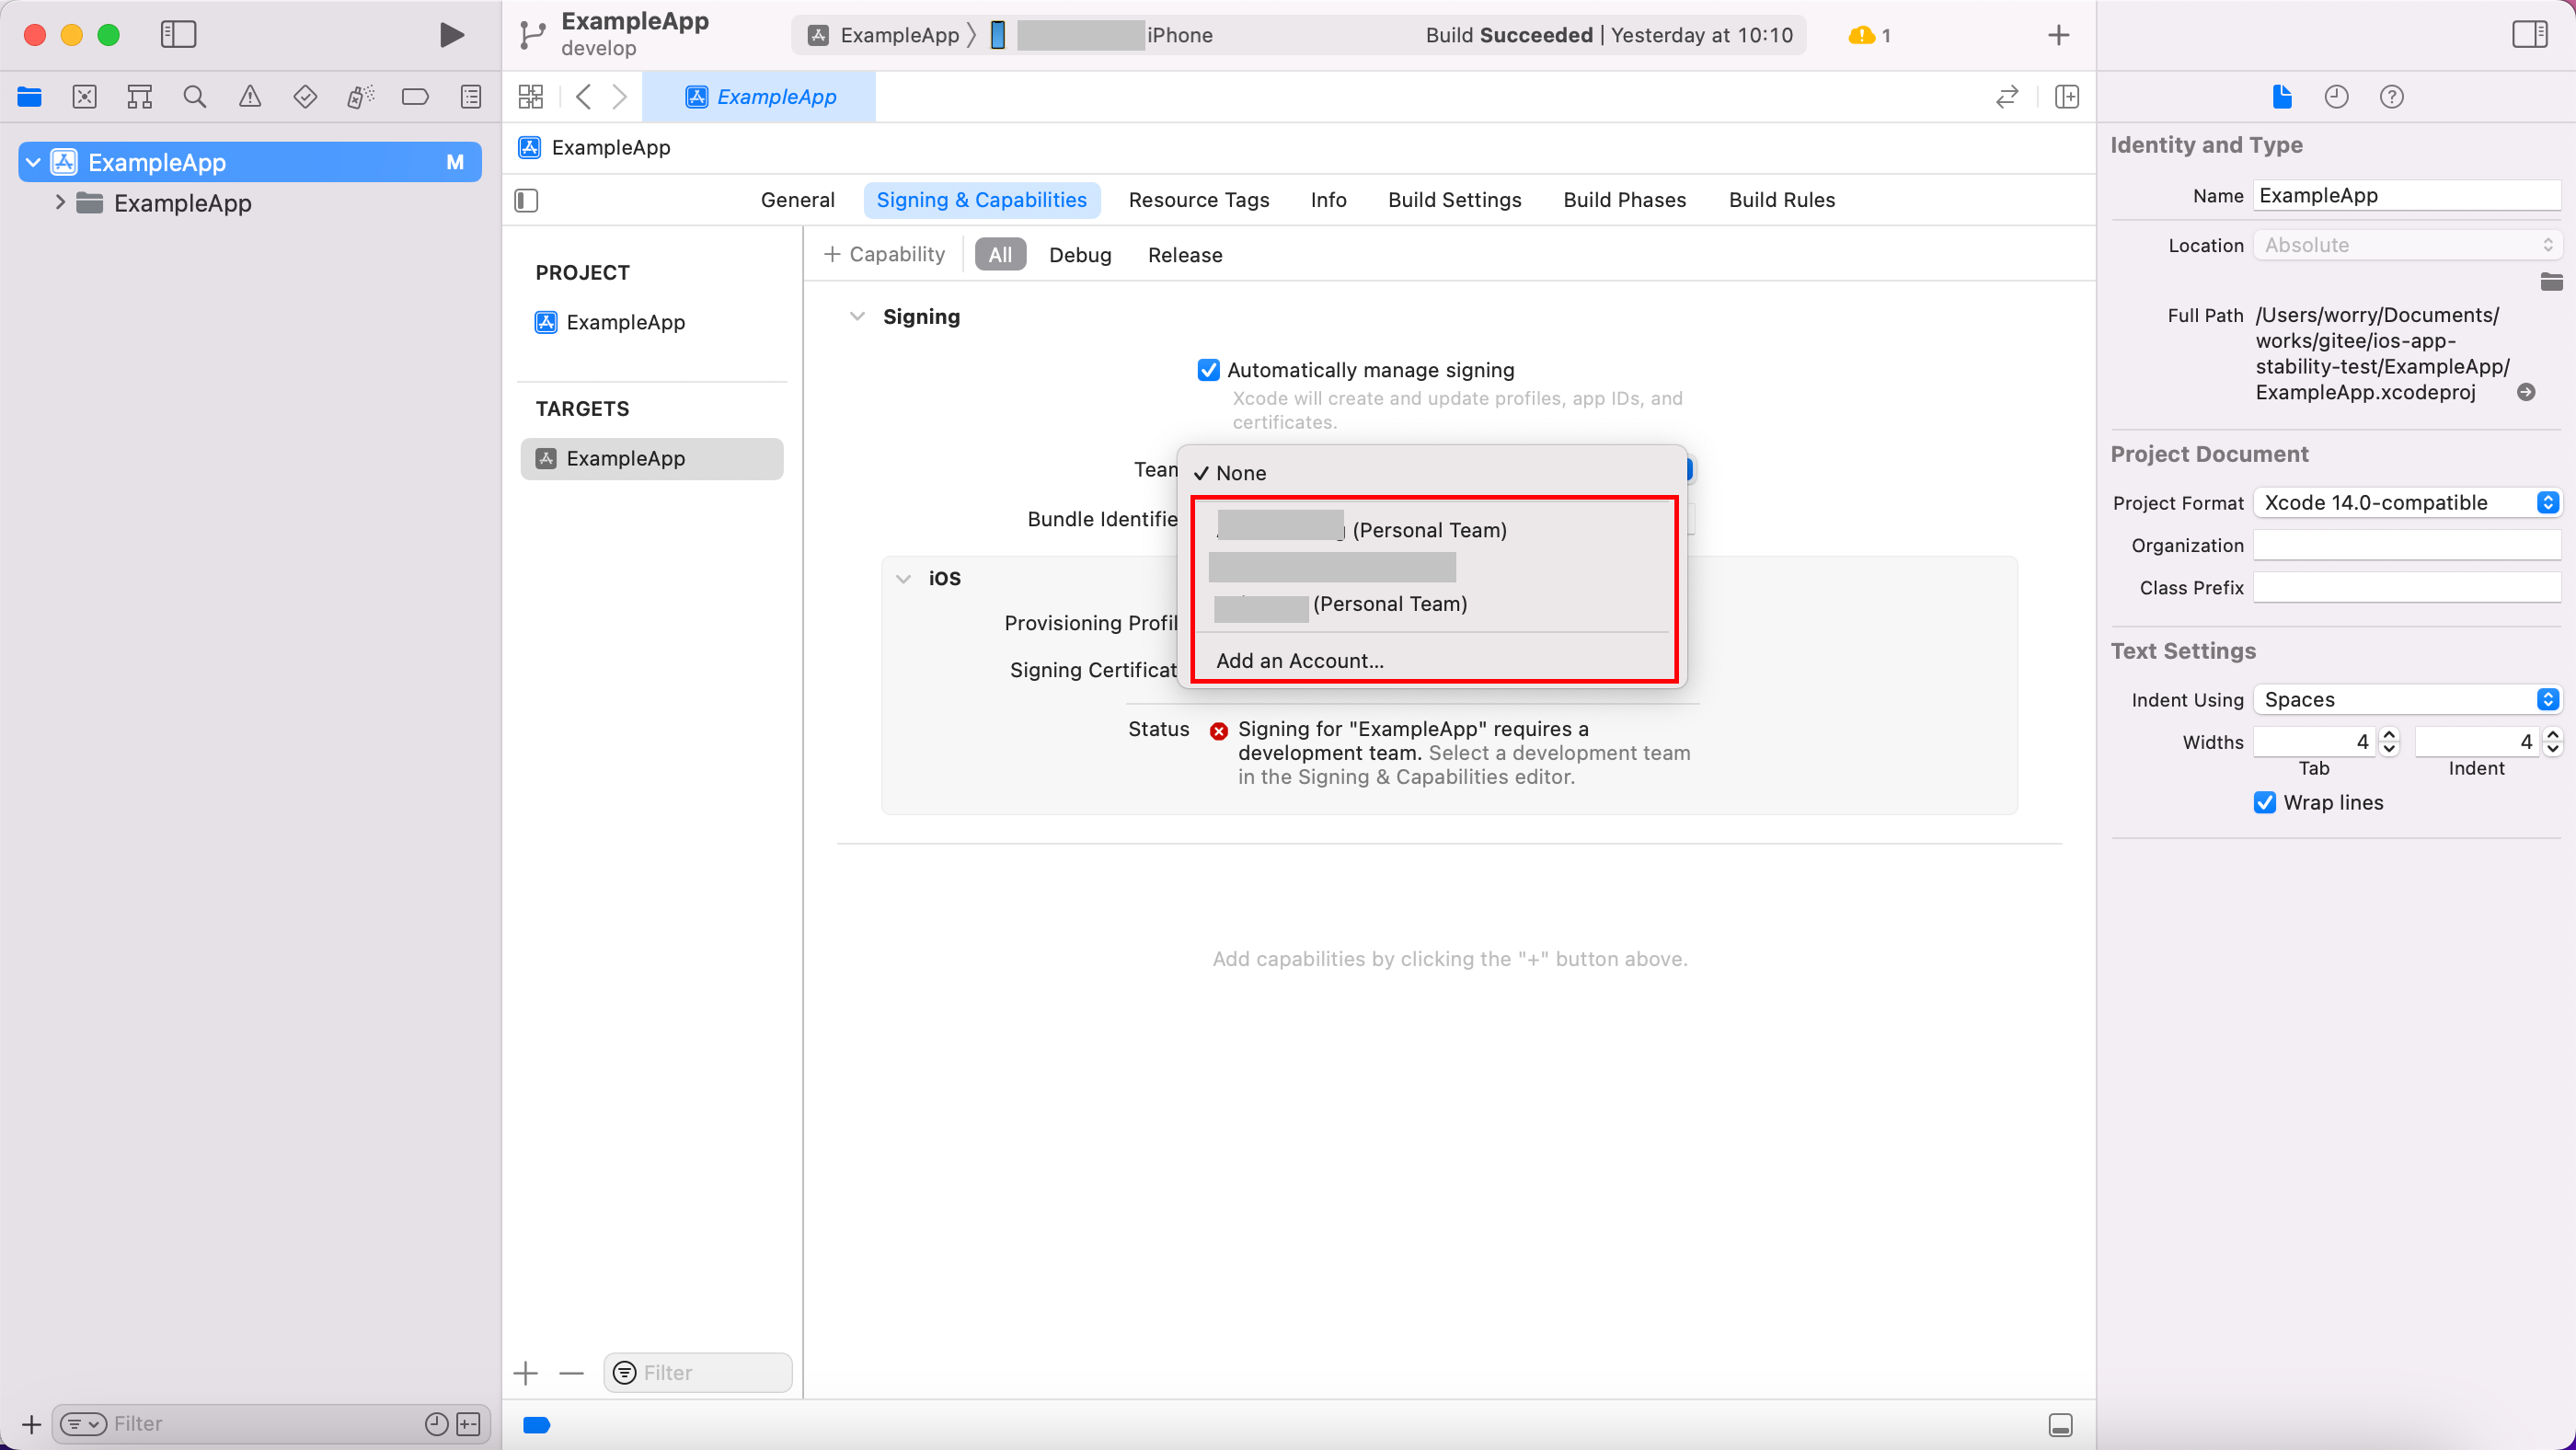
2. 选中Target:AppStabilityUITests,在“Signing&Capabilities”中选择你的开发者账号或团队。
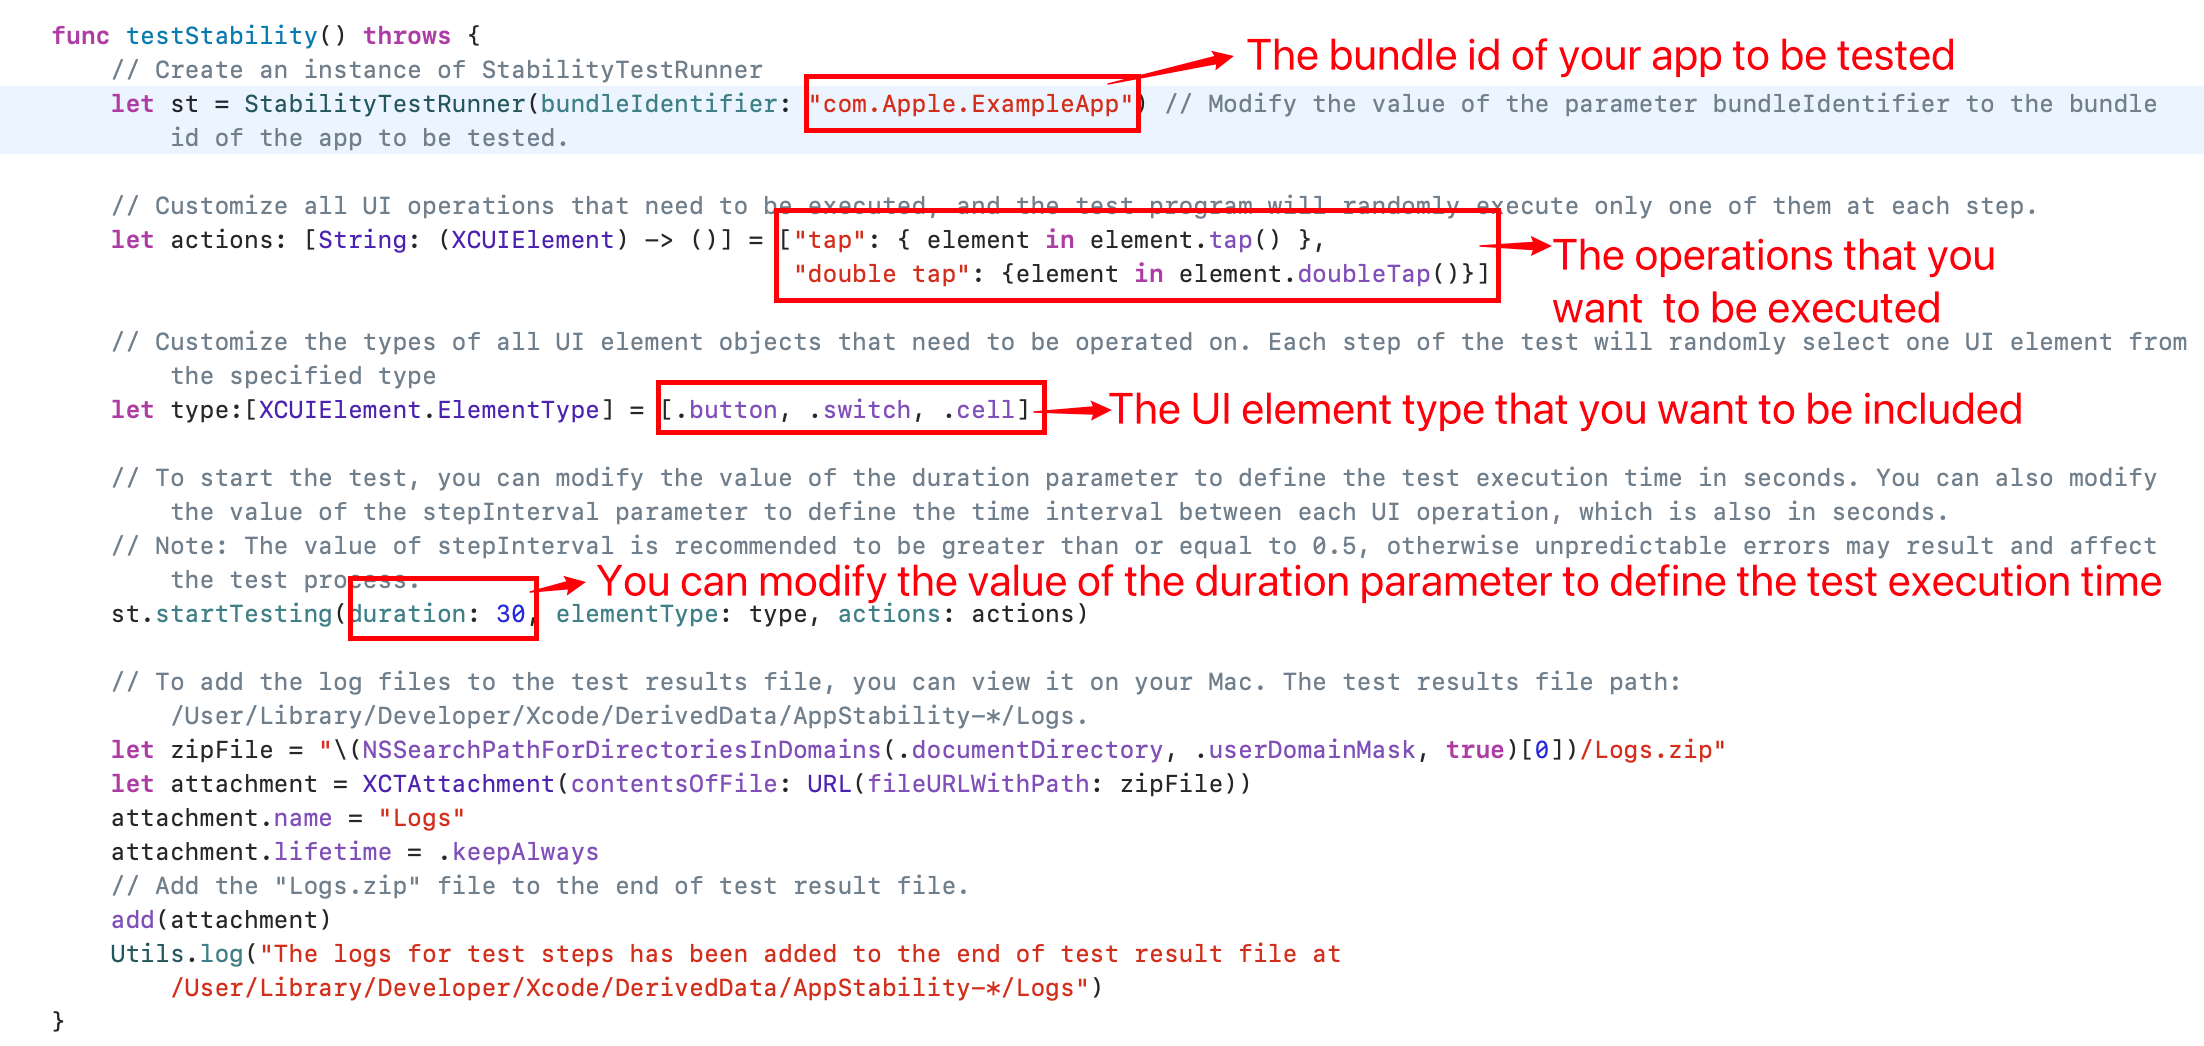
3. 打开“AppStability>AppStabilityUITests>AppStabilityUITests>testStability()”,编辑相关参数,其中
创建StabilityTestRunner实例:
```swift
//参数bundleIdentifier:你需要测试的app的bundle Id
let st = StabilityTestRunner(bundleIdentifier: "com.Apple.ExampleApp")
```
自定义所有需要执行的UI操作,测试程序在每个步骤只随机执行其中一个操作:
```swift
// 数组中的元素为字典,字典的key为UI操作的描述,value为需要执行的UI操作函数,测试过程中会随机选择其中一种
let actions: [String: (XCUIElement) -> ()] = ["tap": { element in element.tap() },
"double tap": {element in element.doubleTap()}]
```
自定义所有需要操作的UI元素对象的类型。测试的每一步都会从指定的类型中随机选择一个UI元素:
```swift
// 数组中的元素为UI元素的类型对象
let type:[XCUIElement.ElementType] = [.button, .switch, .cell]
```
开始测试:
```swift
// 参数duration为测试的持续时间,单位为秒
// 参数stepInterval为每一步UI操作间的时间间隔,单位为秒,它默认为0.5,你也可以自定义
st.startTesting(duration: 30, elementType: type, actions: actions, stepInterval: 0.5)
```
**注:当某一次UI操作导致app崩溃后,如果立即执行下一个操作, 此时没有足够的时间来检测app的状态并重启app,那么可能导致无法预知的错误。因此参数stepInterval的值不能太小,每次UI操作后app需要一定的反应时间, 建议:stepInterval >= 0.5。**
保存测试日志以在mac上查看:
```swift
let zipFile = "\(NSSearchPathForDirectoriesInDomains(.documentDirectory, .userDomainMask, true)[0])/Logs.zip"
let attachment = XCTAttachment(contentsOfFile: URL(fileURLWithPath: zipFile))
attachment.name = "Logs"
attachment.lifetime = .keepAlways
// Add the "Logs.zip" file to the end of test result file.
add(attachment)
Utils.log("The logs for test steps has been added to the end of test result file at /User/Library/Developer/Xcode/DerivedData/AppStability-*/Logs")
```
截图:
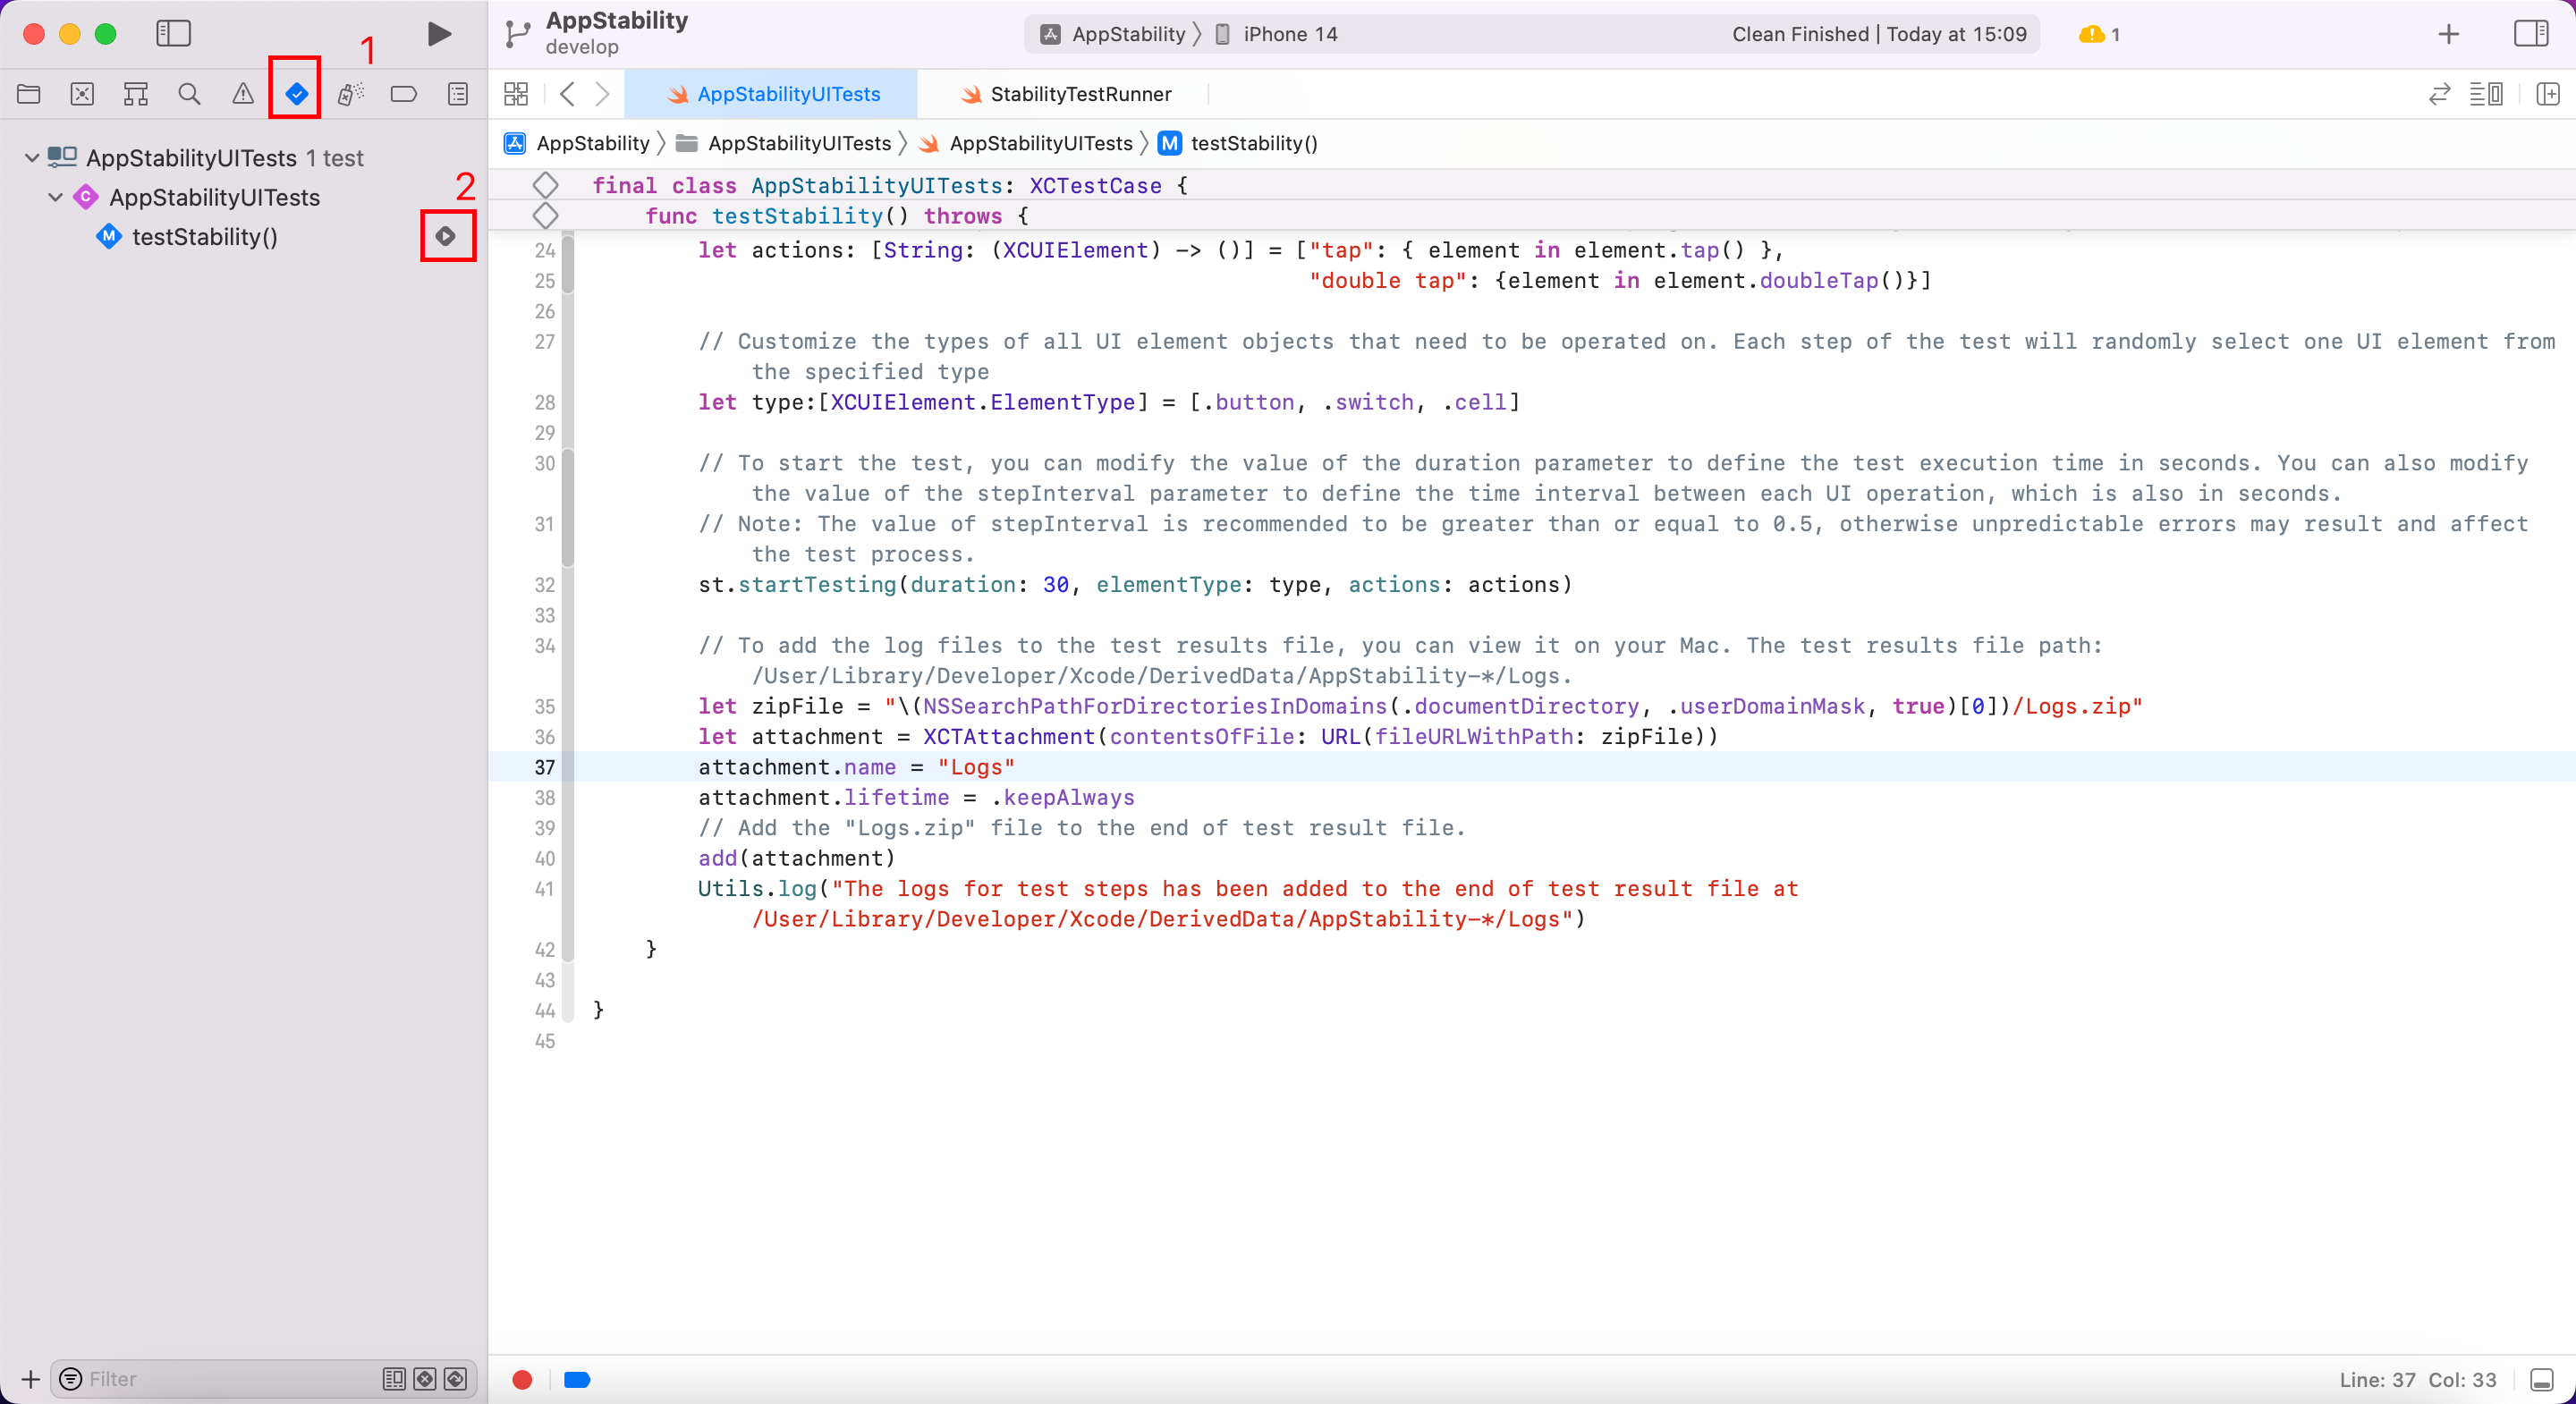
4. 执行测试
方法一:通过Xcode Test Navigator执行,执行前需手动选择目标设备,如:iPhone 14
方法二: 通过xcodebuild命令行工具执行,在AppStability根目录执行以下命令:
```sh
xcodebuild test -scheme AppStability -destination 'platform=iOS,name='
```
5. 查看测试结果
可在以下目录查看“.xcresult”测试结果文件:/User/Library/Developer/Xcode/DerivedData/AppStability-*/Logs,双击用Xcode查看
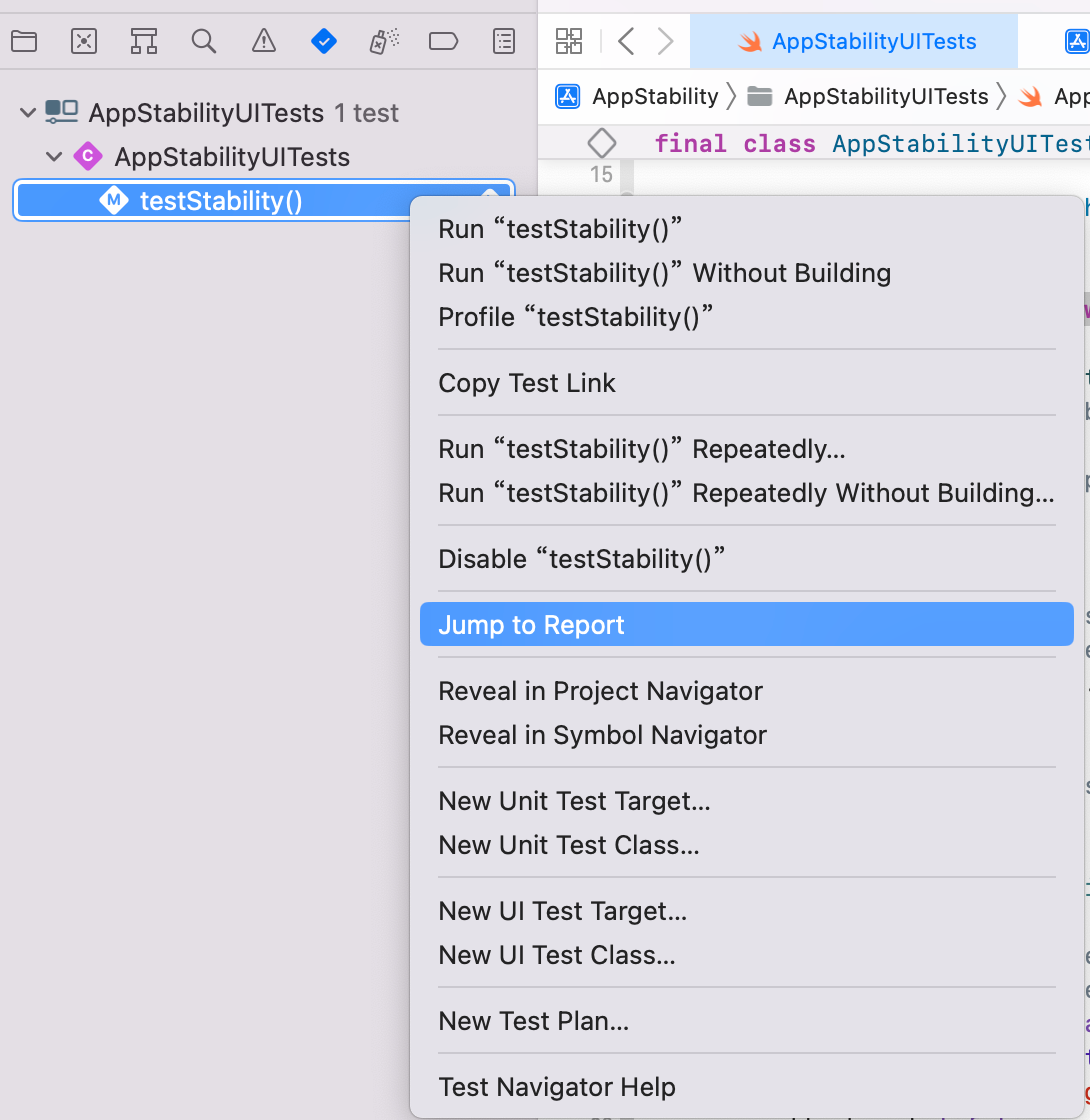
也可直接在Xcode中打开:在Test Navigator中右键testStability函数,点击“jump to report”
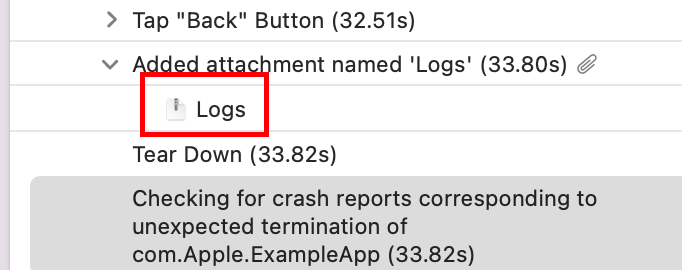
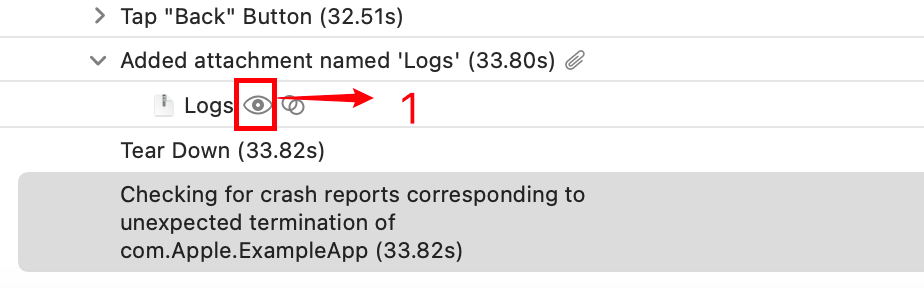
.xcresult结果文件内容包含整个测试过程的UI操作详细记录,最重要的,在内容的最后有能概括所有测试活动的log文件:“Logs.zip”。
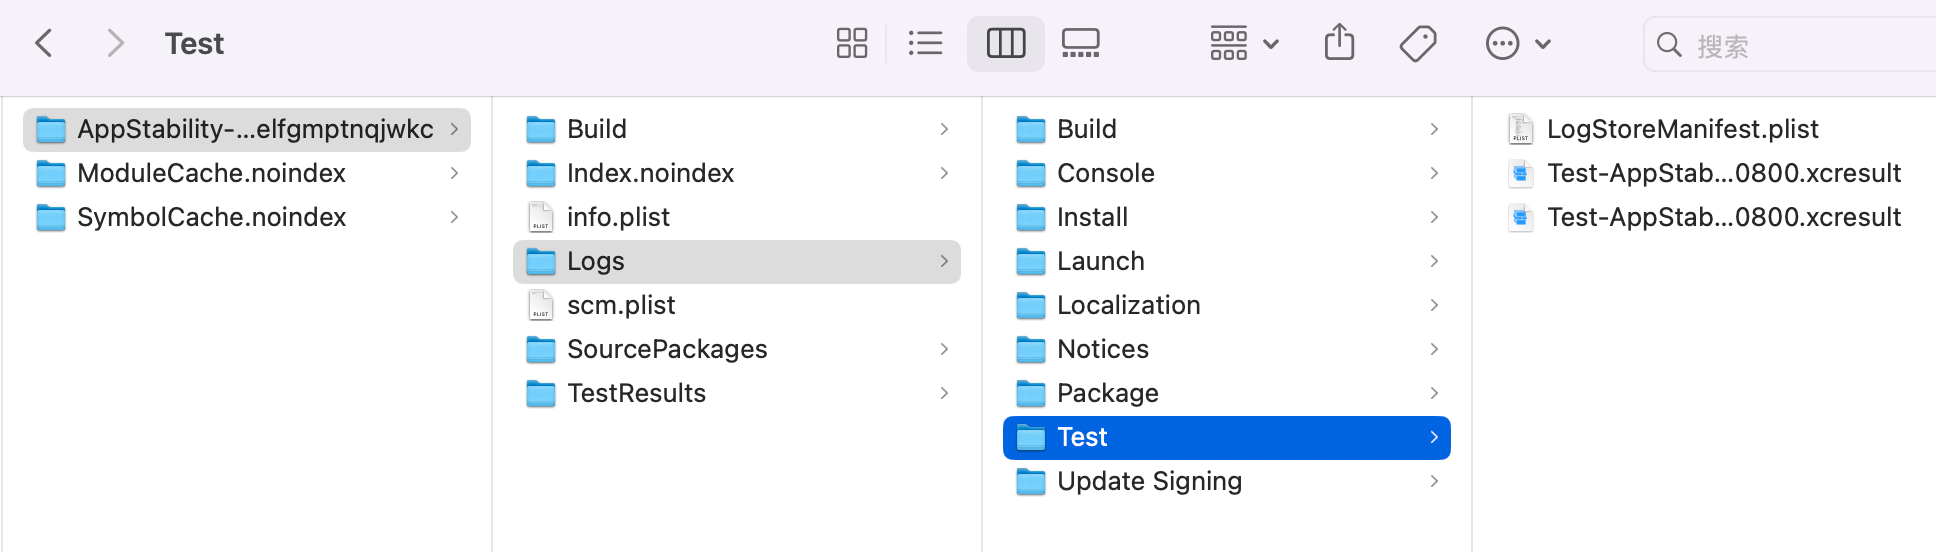
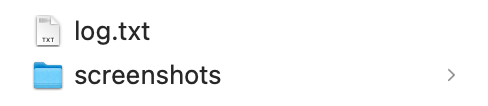
Logs.zip可直接解压查看, 里面包含记录所有UI操作过程的“log.txt”以及每个崩溃点前三步UI操作前的屏幕截图。
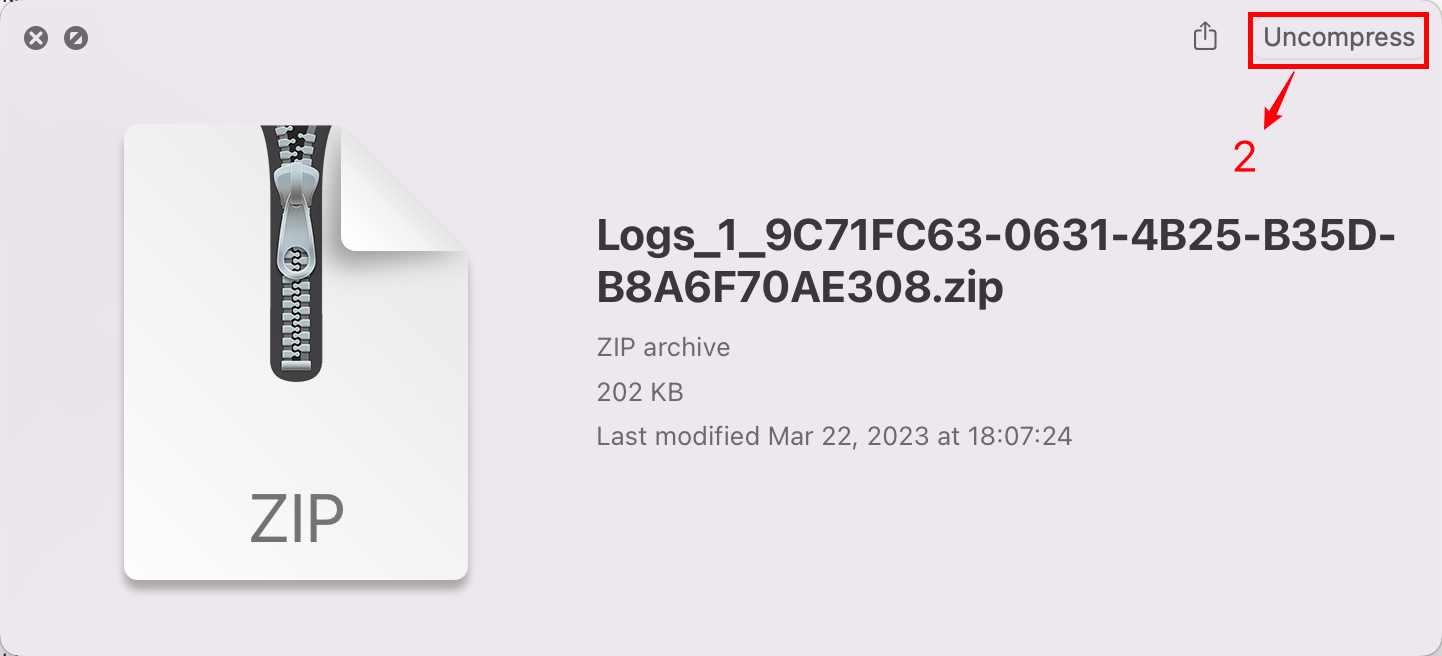
解压后的Logs
log.txt:
```sh
2023-03-23 09:45:17 ******
2023-03-23 09:45:18 step1: tap "tap to trigger crash" Button
2023-03-23 09:45:20 The app crashed. The screenshot before the crash has been saved in the screenshot folder.
2023-03-23 09:45:21 step2: tap "go to page1" Button
2023-03-23 09:45:23 step3: double tap "Back" Button
2023-03-23 09:45:25 step4: tap "go to page1" Button
2023-03-23 09:45:27 step5: double tap "Back" Button
2023-03-23 09:45:29 step6: double tap "tap to trigger crash" Button
2023-03-23 09:45:31 The app crashed. The screenshot before the crash has been saved in the screenshot folder.
2023-03-23 09:45:32 step7: double tap "tap to trigger crash" Button
2023-03-23 09:45:34 The app crashed. The screenshot before the crash has been saved in the screenshot folder.
2023-03-23 09:45:35 step8: double tap "go to page1" Button
2023-03-23 09:45:37 step9: tap "Back" Button
2023-03-23 09:45:39 step10: double tap "go to page1" Button
2023-03-23 09:45:40 ******
```
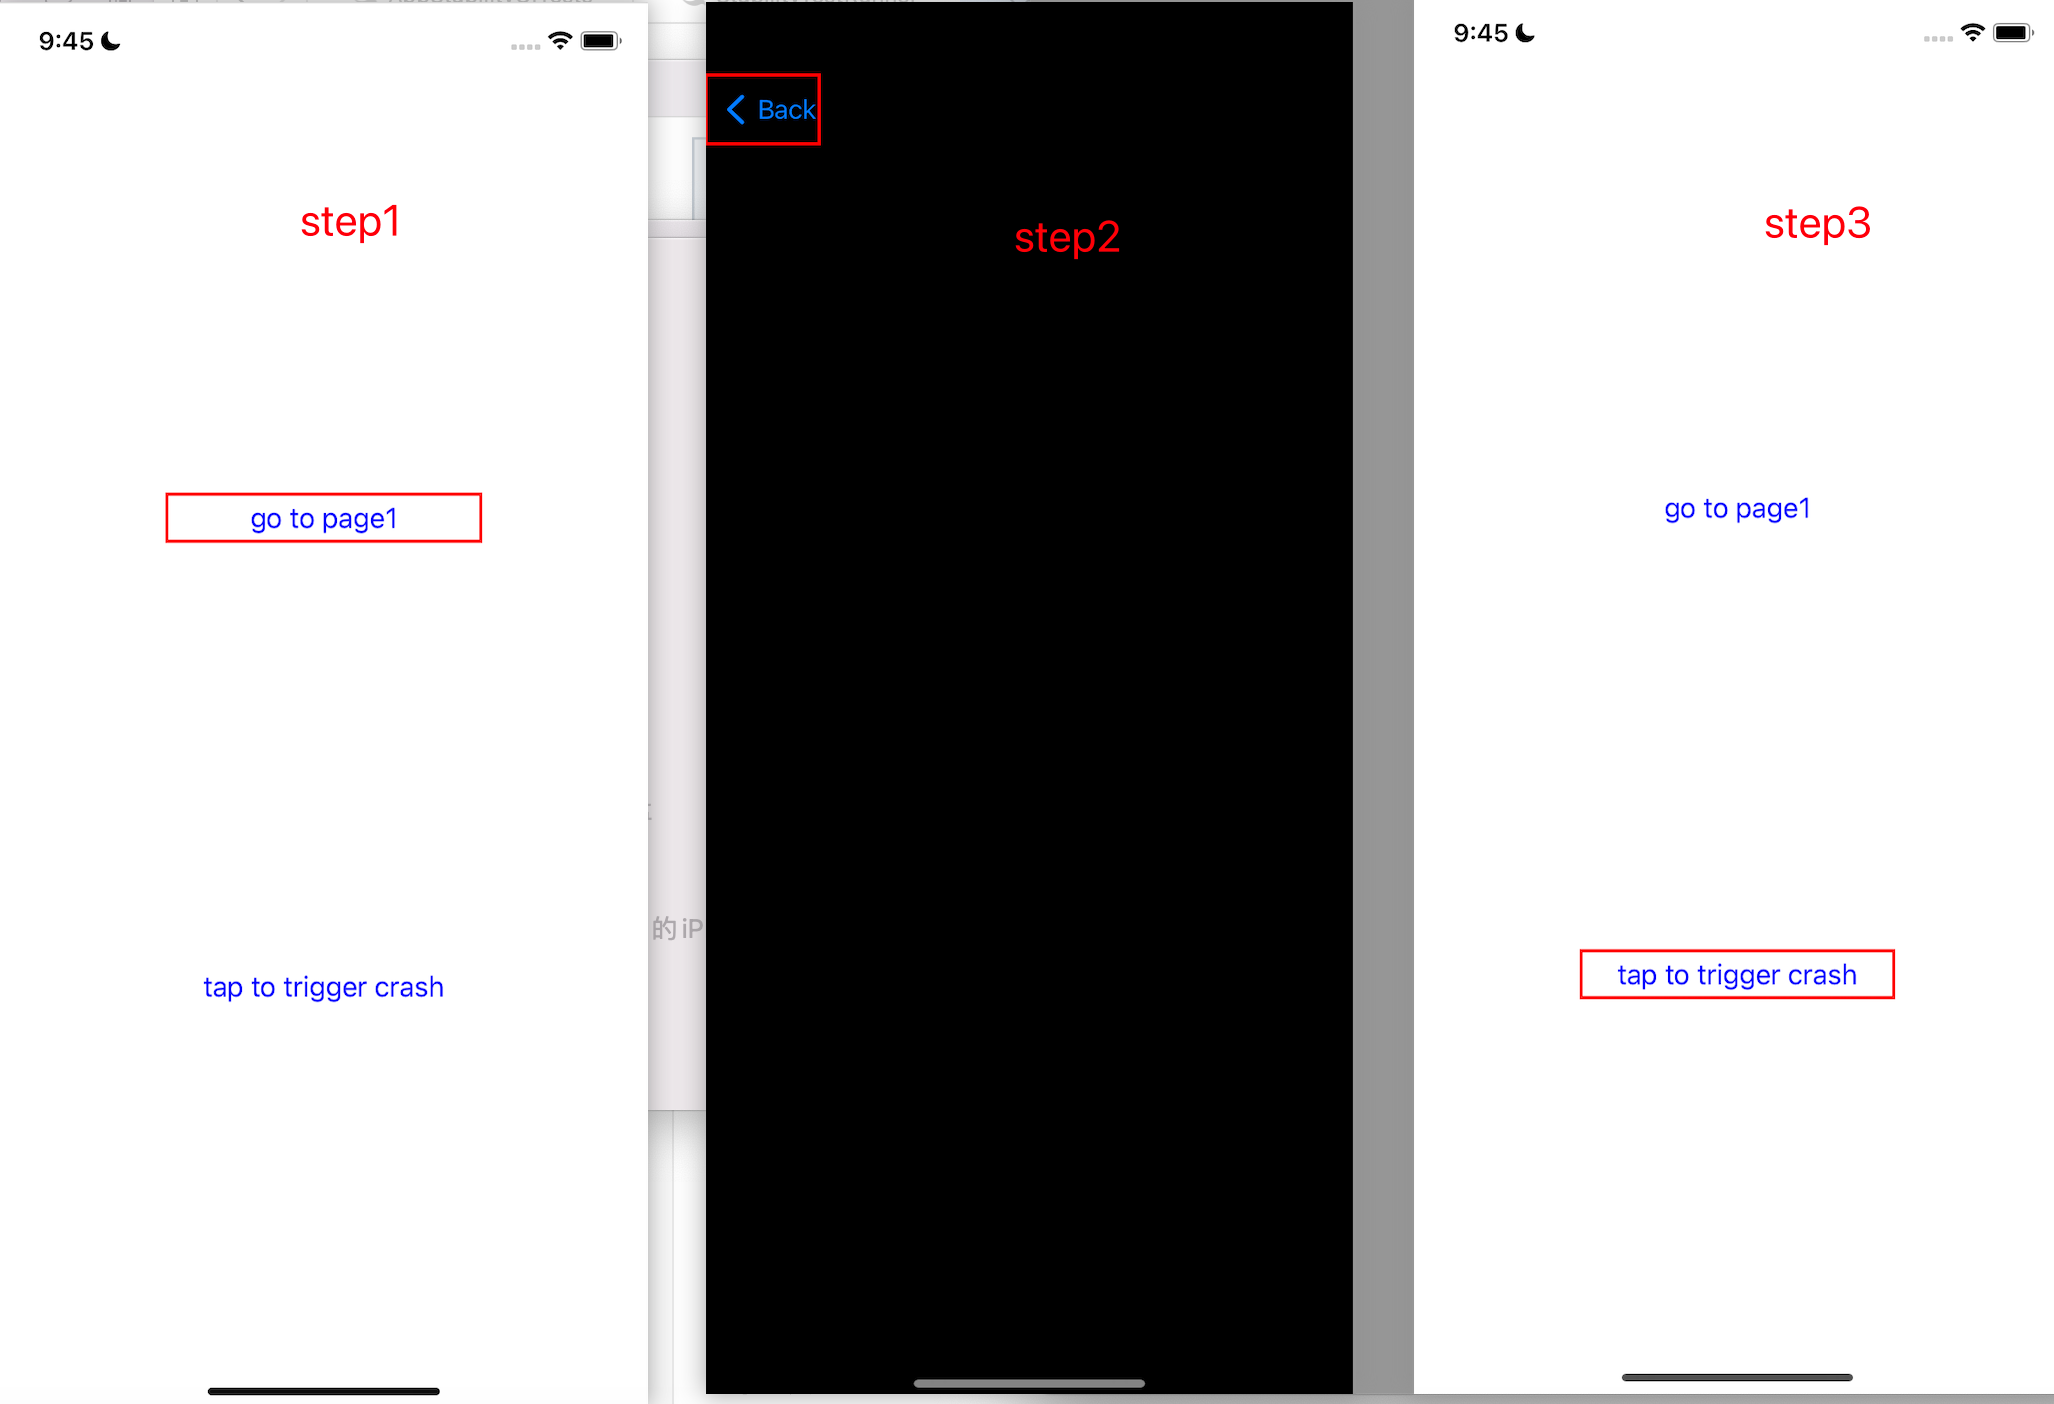
screenshot(截图的顺序即UI操作的顺序,被执行操作的元素将会被红色方框标识):
#### 使用示例
在“ExampleApp”存在可以触发崩溃的“tap to trigger crash”按钮,你可以通过这个app来测试稳定性测试程序的测试效果。
安装“ExampleApp”:
1. 双击“ExampleApp.xcodeproj”使用Xcode打开项目
2. 选择可用的开发者账号
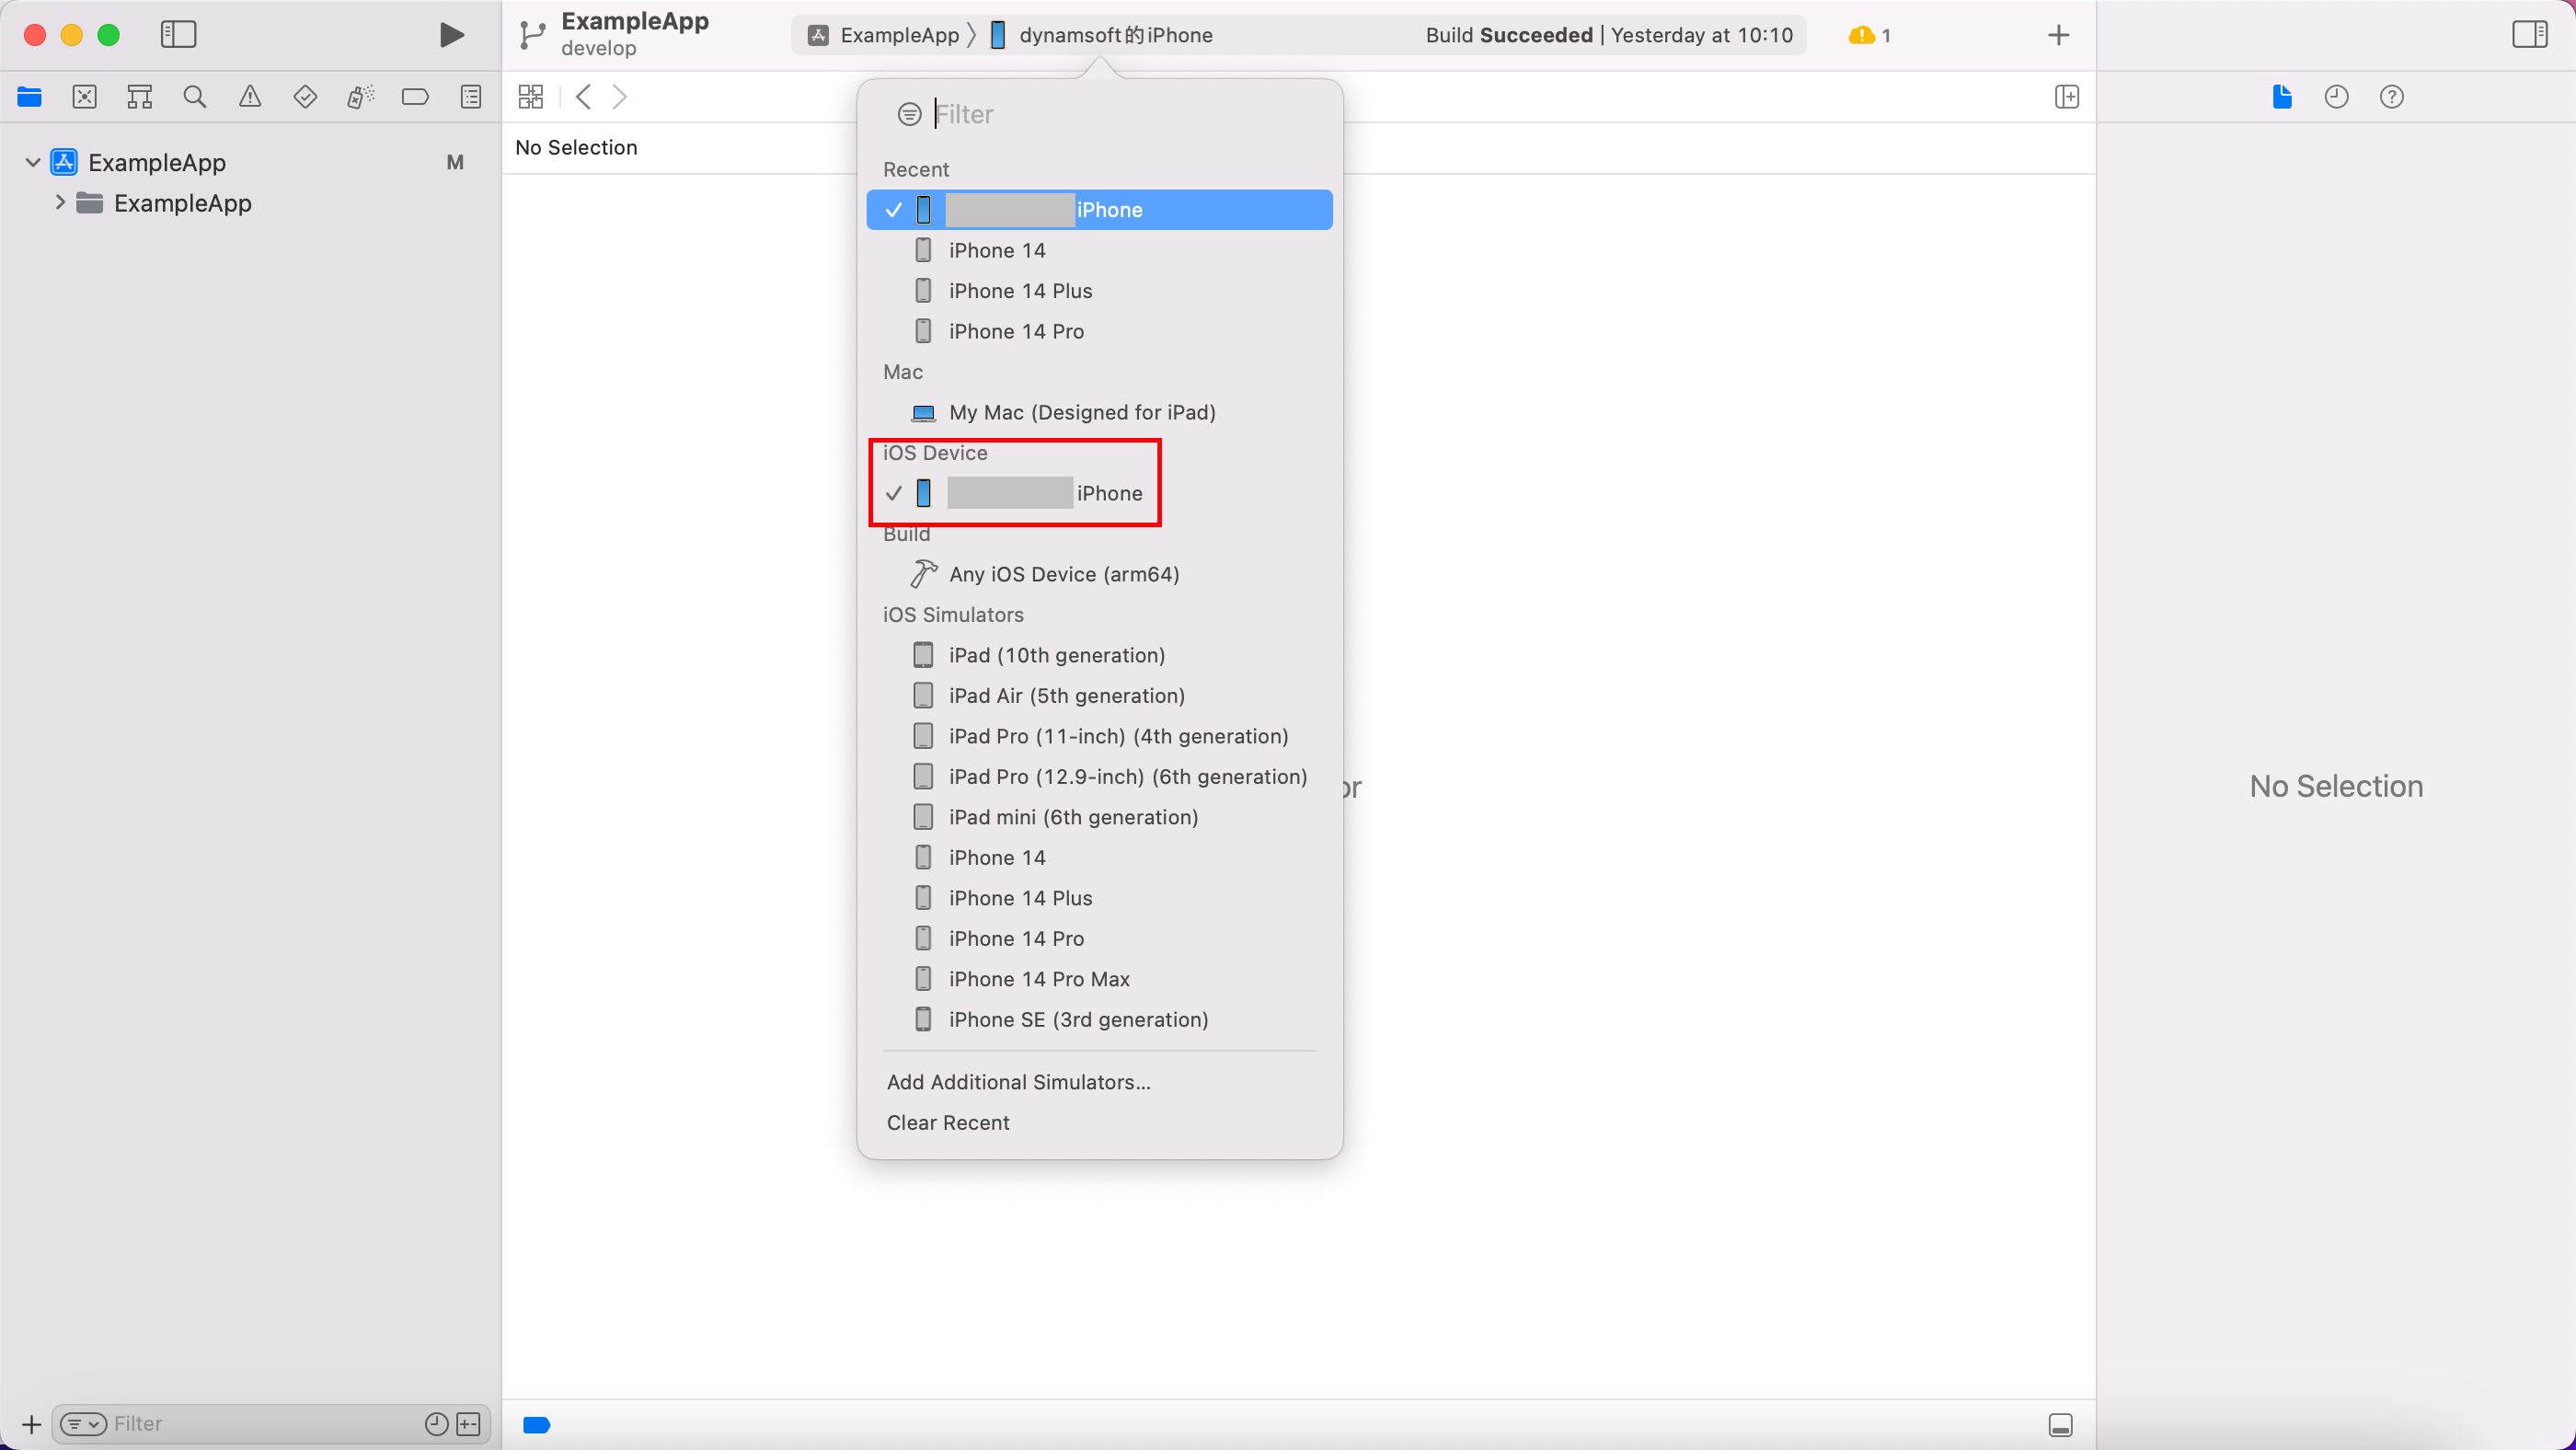
3. 选择可用的ios设备
4. 安装运行app
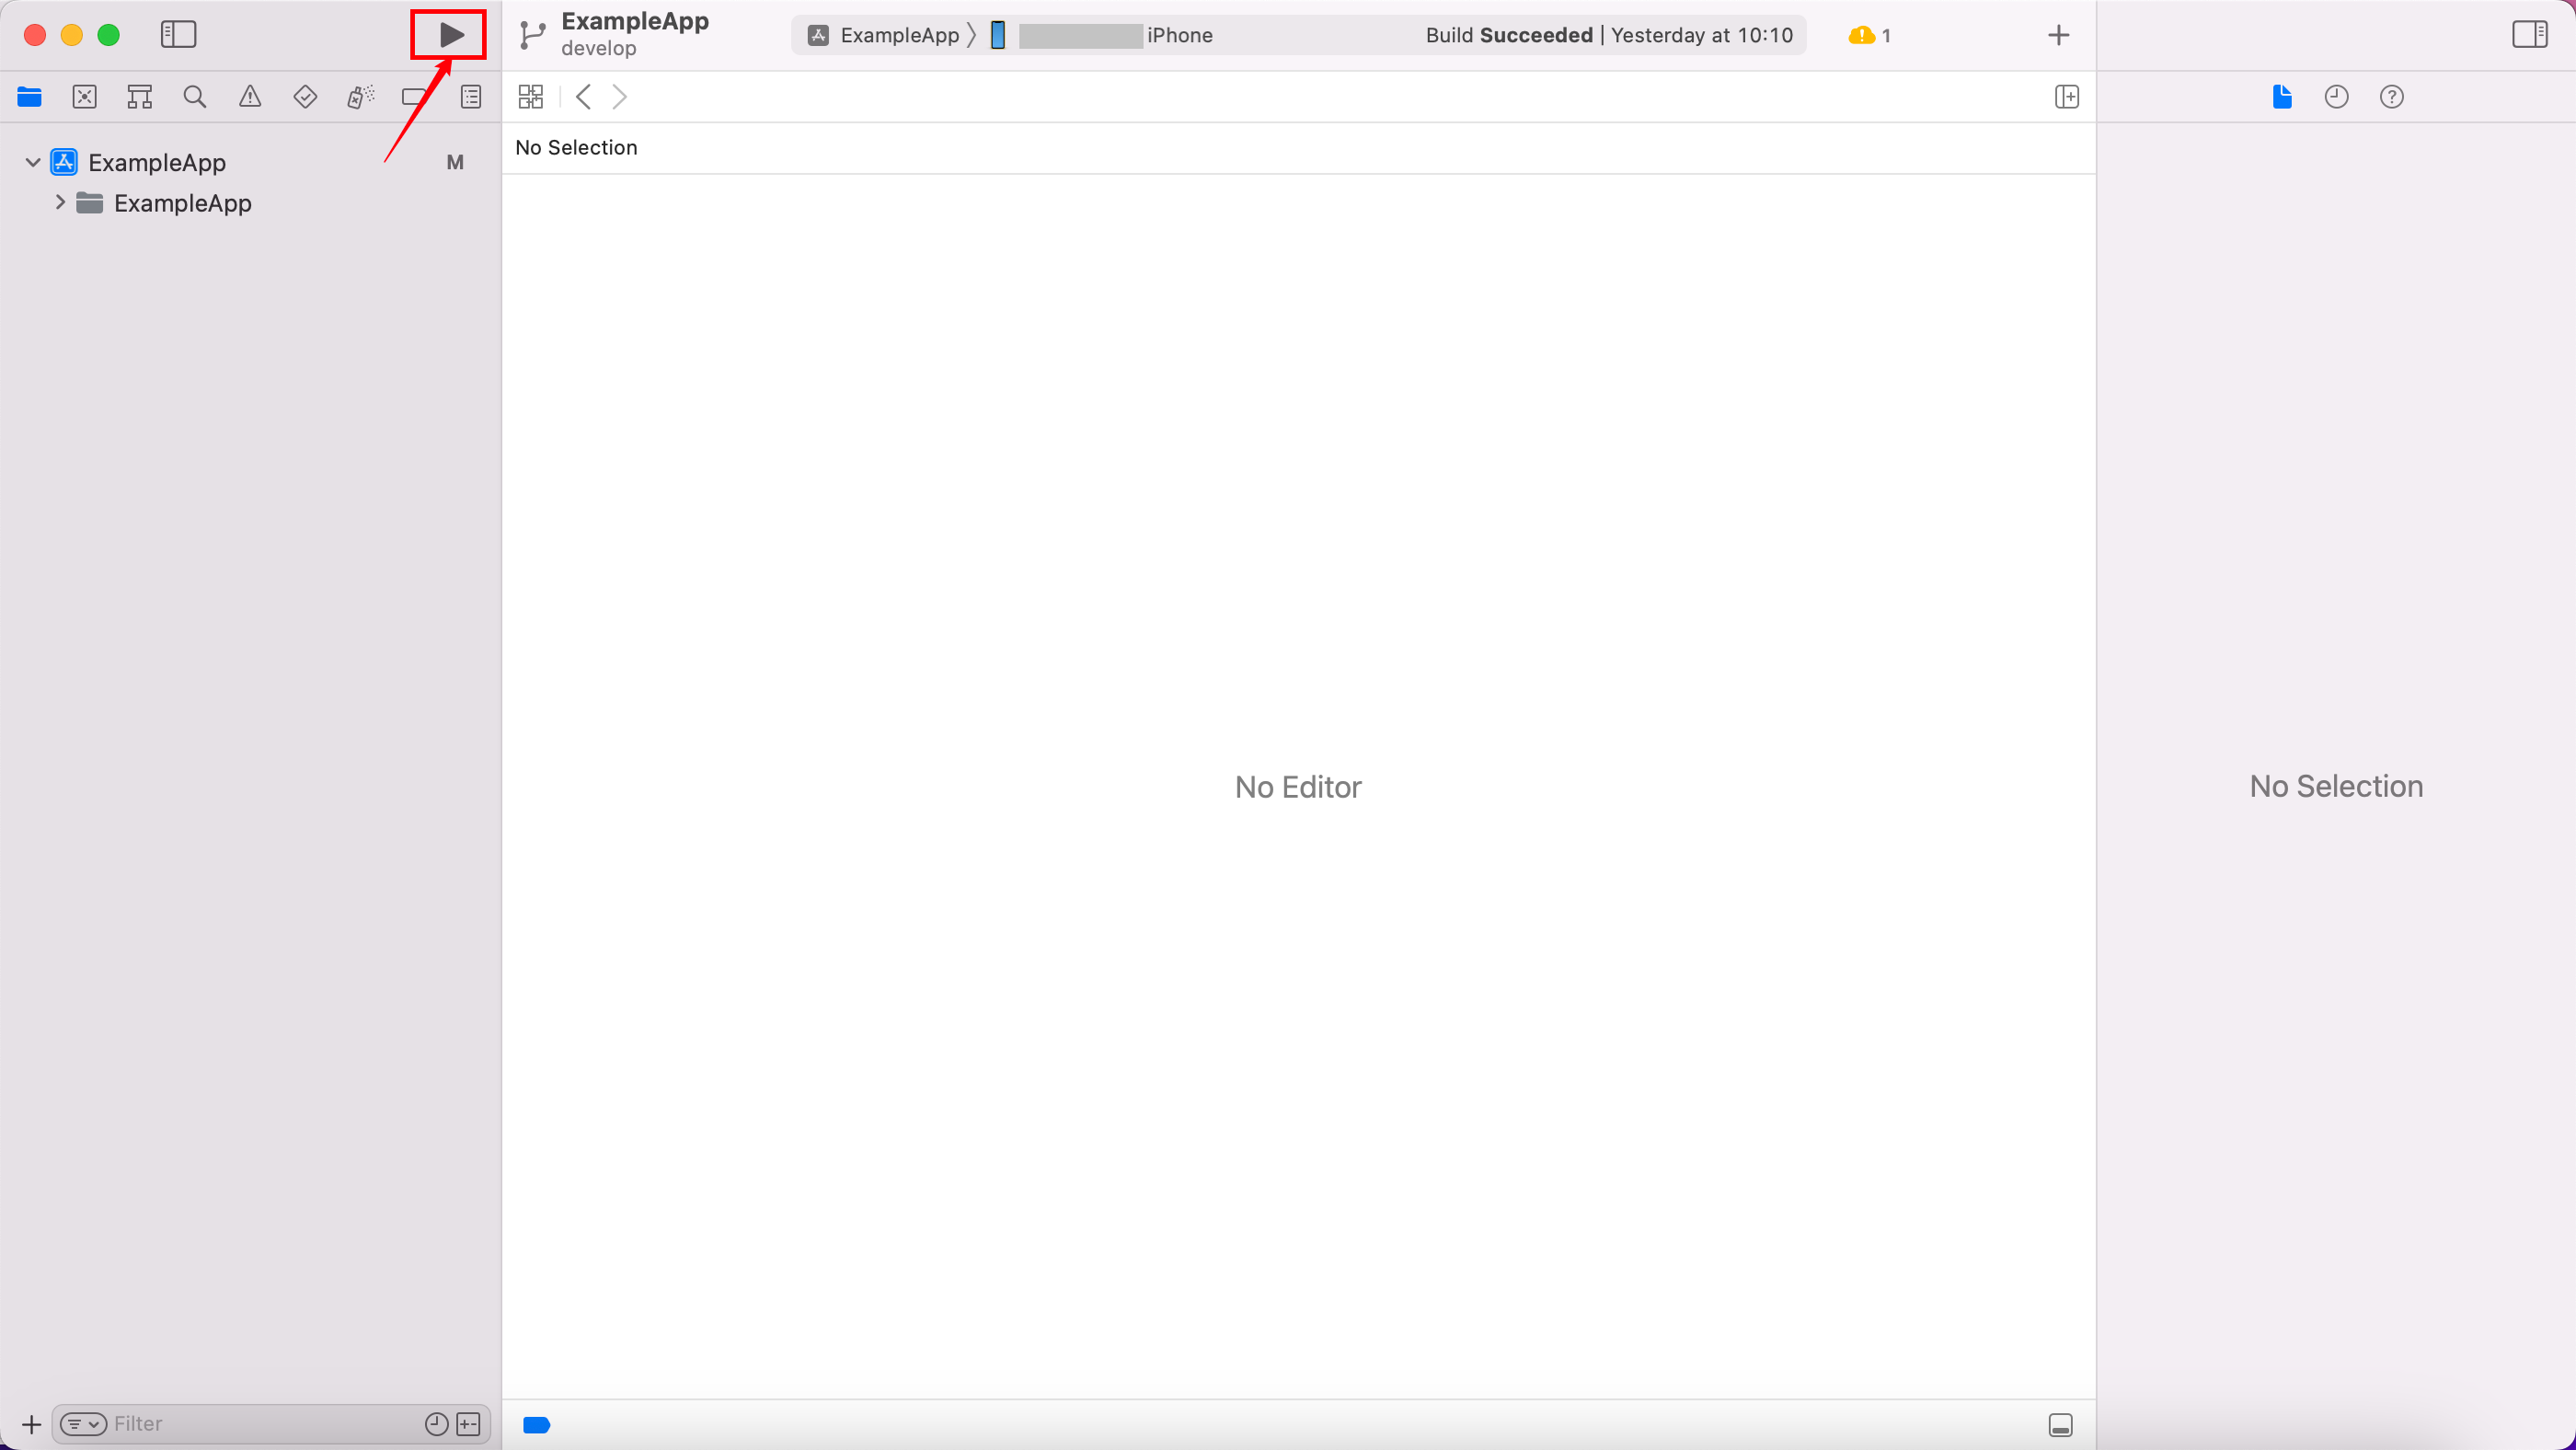
至此,ExampleApp已被安装在你的设备,你可以根据“使用说明”中的详细教程来测试稳定性测试程序的表现如何。
#### 参与贡献
1. Fork 本仓库
2. 新建 Feat_xxx 分支
3. 提交代码
4. 新建 Pull Request
#### 建议与反馈
联系方式:wang_wang164@163.com